


Mamas, are you looking for a way to cherish and preserve your kids’ most special childhood memories? Memory boxes, also sometimes referred to as Keepsake Boxes, are a great solution! Creating memory boxes for kids is a heartfelt way to capture fleeting moments that’ll bring smiles to everyone’s faces for years to come.
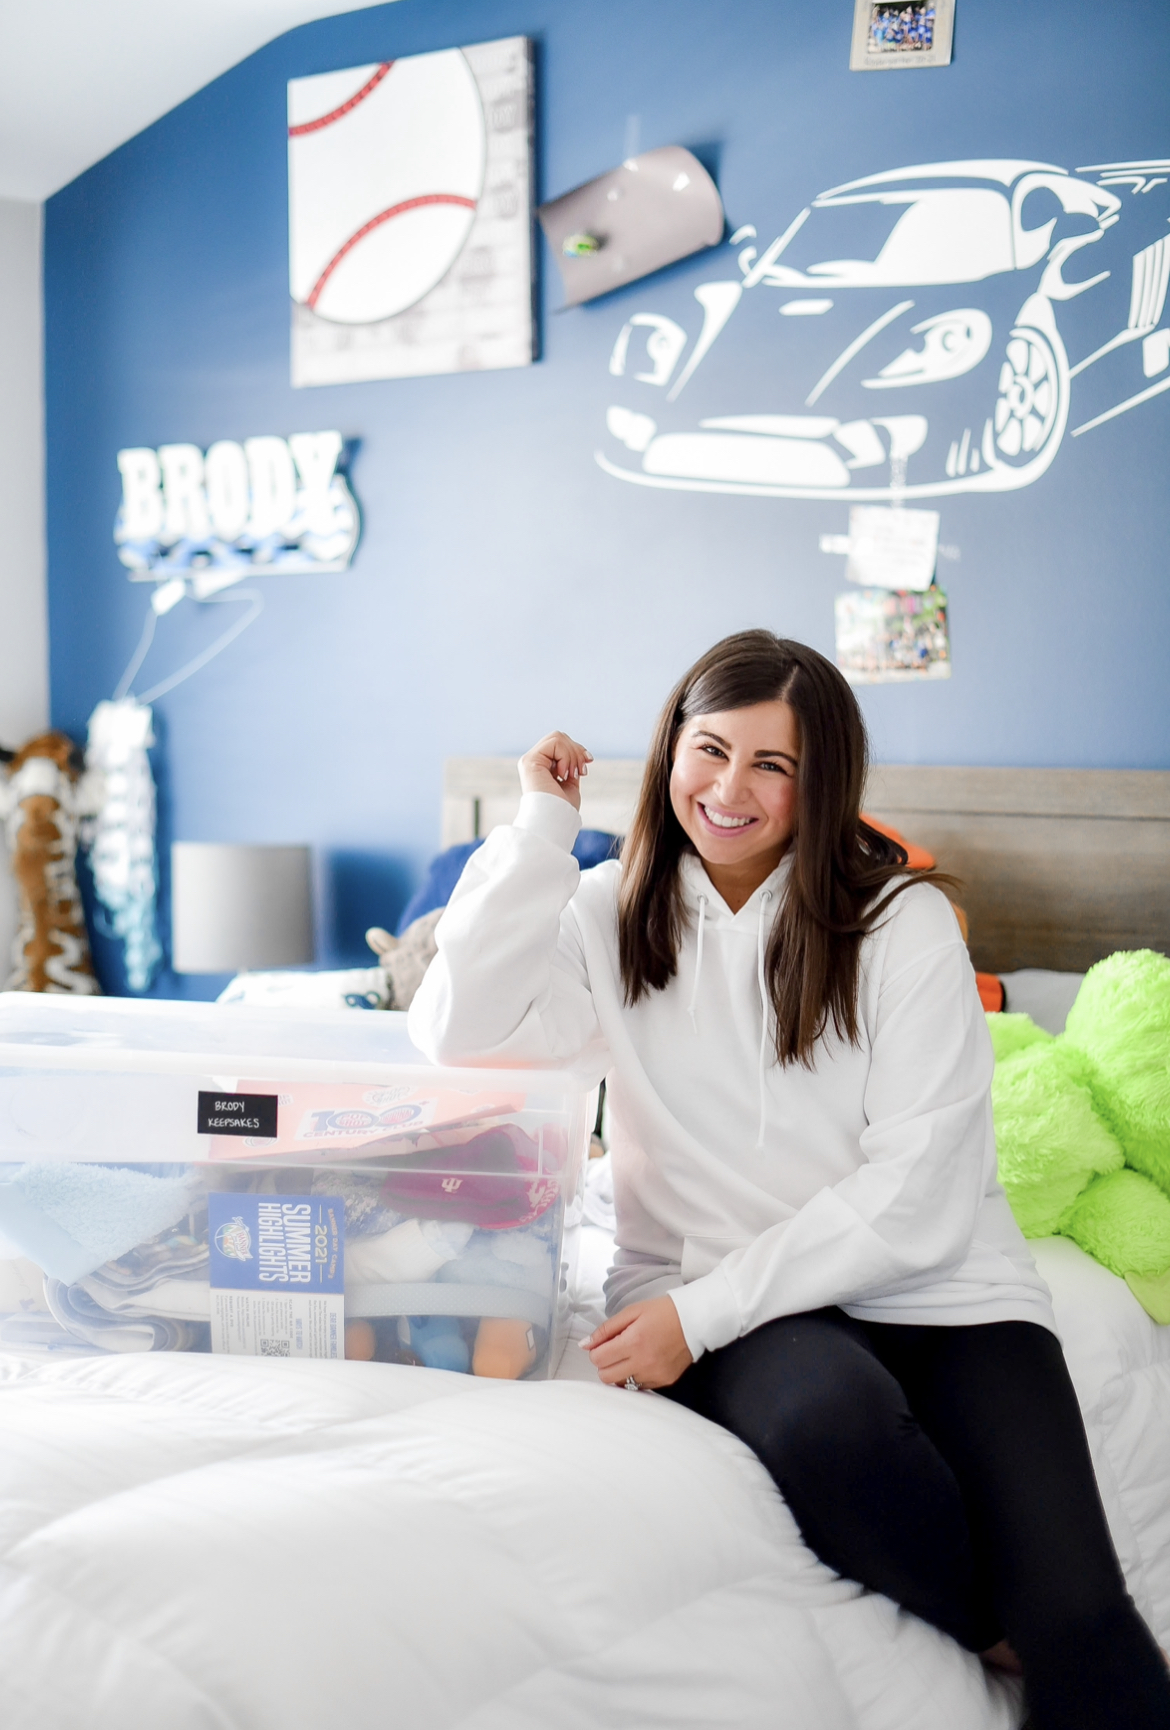
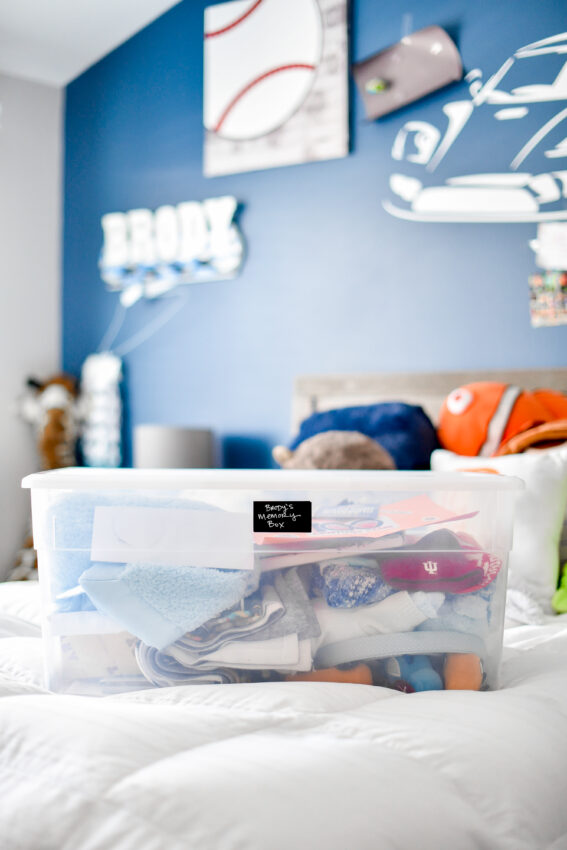
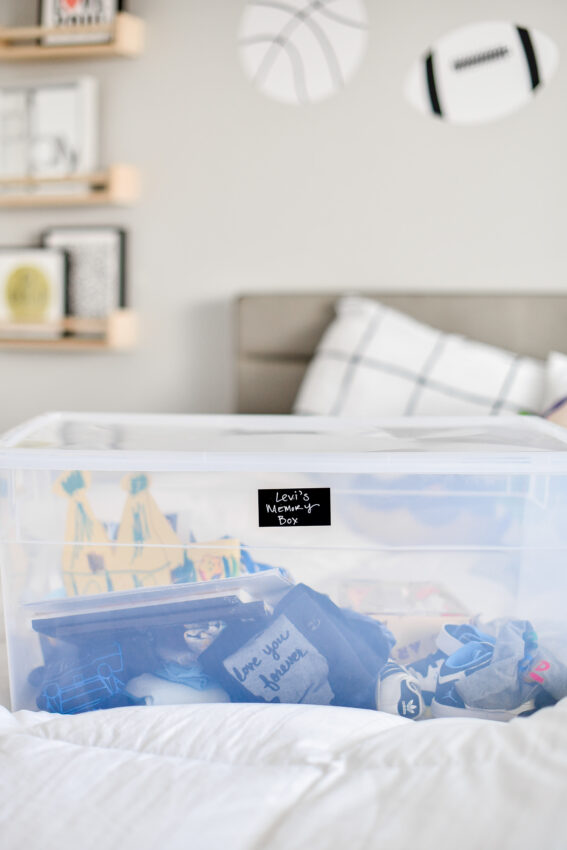
When we moved into our suburban house for the first time, I realized that I needed something bigger than a shoebox to keep all of Brody’s special mementos, so I got a giant clear bin and started his memory box! He was two years old at the time. That same day, I created one for Levi, who was still in my belly because I was super pregnant then! I should note that because I wasn’t feeling well in my preggers state, I decided not to make this a crazy big project for myself – my kids’ bins are the bare bones of what memory boxes could look like, but let me tell you, whether you decide to decorate it or not, it will do the job no matter what! And well!
So, without further ado, it’s time to share step-by-step directions on creating functional and meaningful memory boxes for kids!
Step 1: Find the Perfect Box
First things first – you’ll need a special box to hold all the incredible memories you’re about to gather. It should be large in size to fit all your child’s special keepsakes for years to come! It could be a beautiful wooden box, a colorful storage container, or even a vintage chest – anything that resonates with your style and suits your child’s personality. I found this clear giant bin that works great for us and I love that we can see through it!!
Step 2: Decorate The Box – this is OPTIONAL!
If you want to decorate your children’s boxes, then go for it! All you need to do is gather some basic crafting items first and then get to it! Some suggestions would be to use stickers, washi tape, colorful markers, and anything else that catches your eye during your next trip to the craft store. These will add that extra touch of creativity to your memory box. Feel free to enlist your child to help you out with this!
Step 3: Start Collecting Memories
Now comes the most fun part – gathering the memories! Encourage your kids to be part of this process by involving them in the collection of special items that represent their childhood. Here are some ideas to get you started:
- Photographs: Print out your favorite pictures of your kids’ significant milestones, adventures, and everyday moments. From first steps to birthday parties, each snapshot captures a piece of their story.
- Artwork and School Projects: We all know kids are master artists. Save those adorable drawings, paintings, and school projects that make you say, “Wow, my child worked really hard on this and it’s obvious!”
- Letters and Cards: Gather any heartfelt letters, birthday cards, or postcards your kids have received. These precious words of love will warm your hearts whenever you revisit them.
- Mementos from Trips and Events: Hold on to little souvenirs or keepsakes from family vacations, holidays, or special outings. These will remind your kids of the joyous times you spent together.
- Favorite Articles of Clothing: I’ve added clothing to my kids’ bins that they’ve grown out of but at one time, wore to death because they were favorites.
Step 4: Organize Your Box – Or Don’t!
Once you’ve collected a treasure trove of memories, it’s time to organize it all – or don’t! Feel free to throw it all in the bin with zero organization! Which is what I did, and guess what? The world is still moving! Ha! Basically, that’s awesome if you want to organize it but if you don’t have the time or are just feeling lazy and overwhelmed by the thought of it, that’s fine too! Do not feel obligated! If you want to, however, go ahead and place similar items together and label them if needed. Either way, don’t lose sight of the fact that this is your memory box, and you can do what you wanna.
Step 5: Continue To Add To Your Box When You Can
Don’t forget to keep the memories flowing by adding new items to your memory box whenever possible. Whether it’s a ticket stub from a fun outing, a heartfelt note, or a cute doodle your child made, every little addition will make your memory box collection even more special. By regularly updating the box, it will become a wonderful reflection of your child’s life, becoming more meaningful as time goes on. So, seize every chance to preserve those precious moments, and watch as your memory box becomes a treasure trove of cherished memories that you and your kids will love forever.
Step 6: Revisit Your Memory Box Every Year
YAY!!! You’ve created a fantastic memory box filled with love and nostalgia! Now, here’s the real magic – keep it in a safe place {my kids’ boxes are in their closets!} and set aside time every year or so to open the box and relive those cherished memories together. As your kids grow older and more mature, these memory boxes will become a special time capsule that documents their journey into adulthood. Now that is special!
Show Your Kids the Importance of Random Acts of Kindness
The world needs more kindness and it starts with our kids. Take a look at this post showcasing 30 random acts of kindness that make a big impact! It’s a great life lesson to teach our littles who are watching our every move. Model kindness for children so they learn to be kind too.
DO YOU FOLLOW ME ON INSTA YET?
If not, what are you waiting for?? We have fun over there, and I would love to have you join our little mama community!! All it takes is 2 seconds! So, click here and hit that follow button now!
GRAB THESE FREEBIES:
100+ Easy School Lunch Box Ideas to Help You Create Healthy Lunches for Your Kids All Year in Under 5 Minutes a Day.
Dinner Table Gratitude Game.
12 Holy Grail Products That Will Make Your Life As a Mom So Much Easier.
Photos taken by VPG Photography.


Comments +