



Well hello there! Here is something you might not know about me: before kids, I was UBER organized. Everything had a spot, every spot was labeled and organizing was genuinely relaxing for me. If you walked into my classroom back when I was a teacher, you would have seen a very colorful space where absolutely everything had its own place.
Then Brody came along, followed by Levi, and somehow the time I used to spend organizing disappeared. Shocking, I know!! My kitchen pantry, cabinets and drawers slowly became A MESS. I was rebuying food and pantry staples because I thought we had run out, but oh no, they were simply buried where no one could find them. Oy!
I kept telling myself I would organize everything eventually. Did I ever do it? Nope. Enter my friend Jessica Litman of The Organized Mama, a former special education teacher turned professional organizer. Jessica and I went to Indiana University and were both Kappas, although in different years. I knew she lived in the Chicago suburbs, and I knew I NEEDED her help.
Hiring Jessica gave me the push I needed, but it also taught me that organizing is not about buying a million matching containers and making everything look perfect. The best professional organizer tips create systems that make your home easier to use and easier to maintain. These are the four lessons that completely transformed my kitchen.
1. Take Everything Out Before You Organize
When I say everything, I mean EVERYTHING!! I could not believe how much stuff came out of my pantry. Seeing it all together was overwhelming at first, but it was also the moment I realized how much space we actually had. Who knew?!
Emptying the space lets you clean the shelves, check expiration dates, find duplicates and see exactly what you own. We found food that had expired more than a year earlier and I had literally no idea. Did I just admit that out loud? Jessica did not judge me, so I hope you will not either!
Once everything is out, group similar items together before putting anything back. We made categories for snacks, breakfast foods, baking supplies, canned goods, condiments and backstock. This step helps you understand how much room each category actually needs.
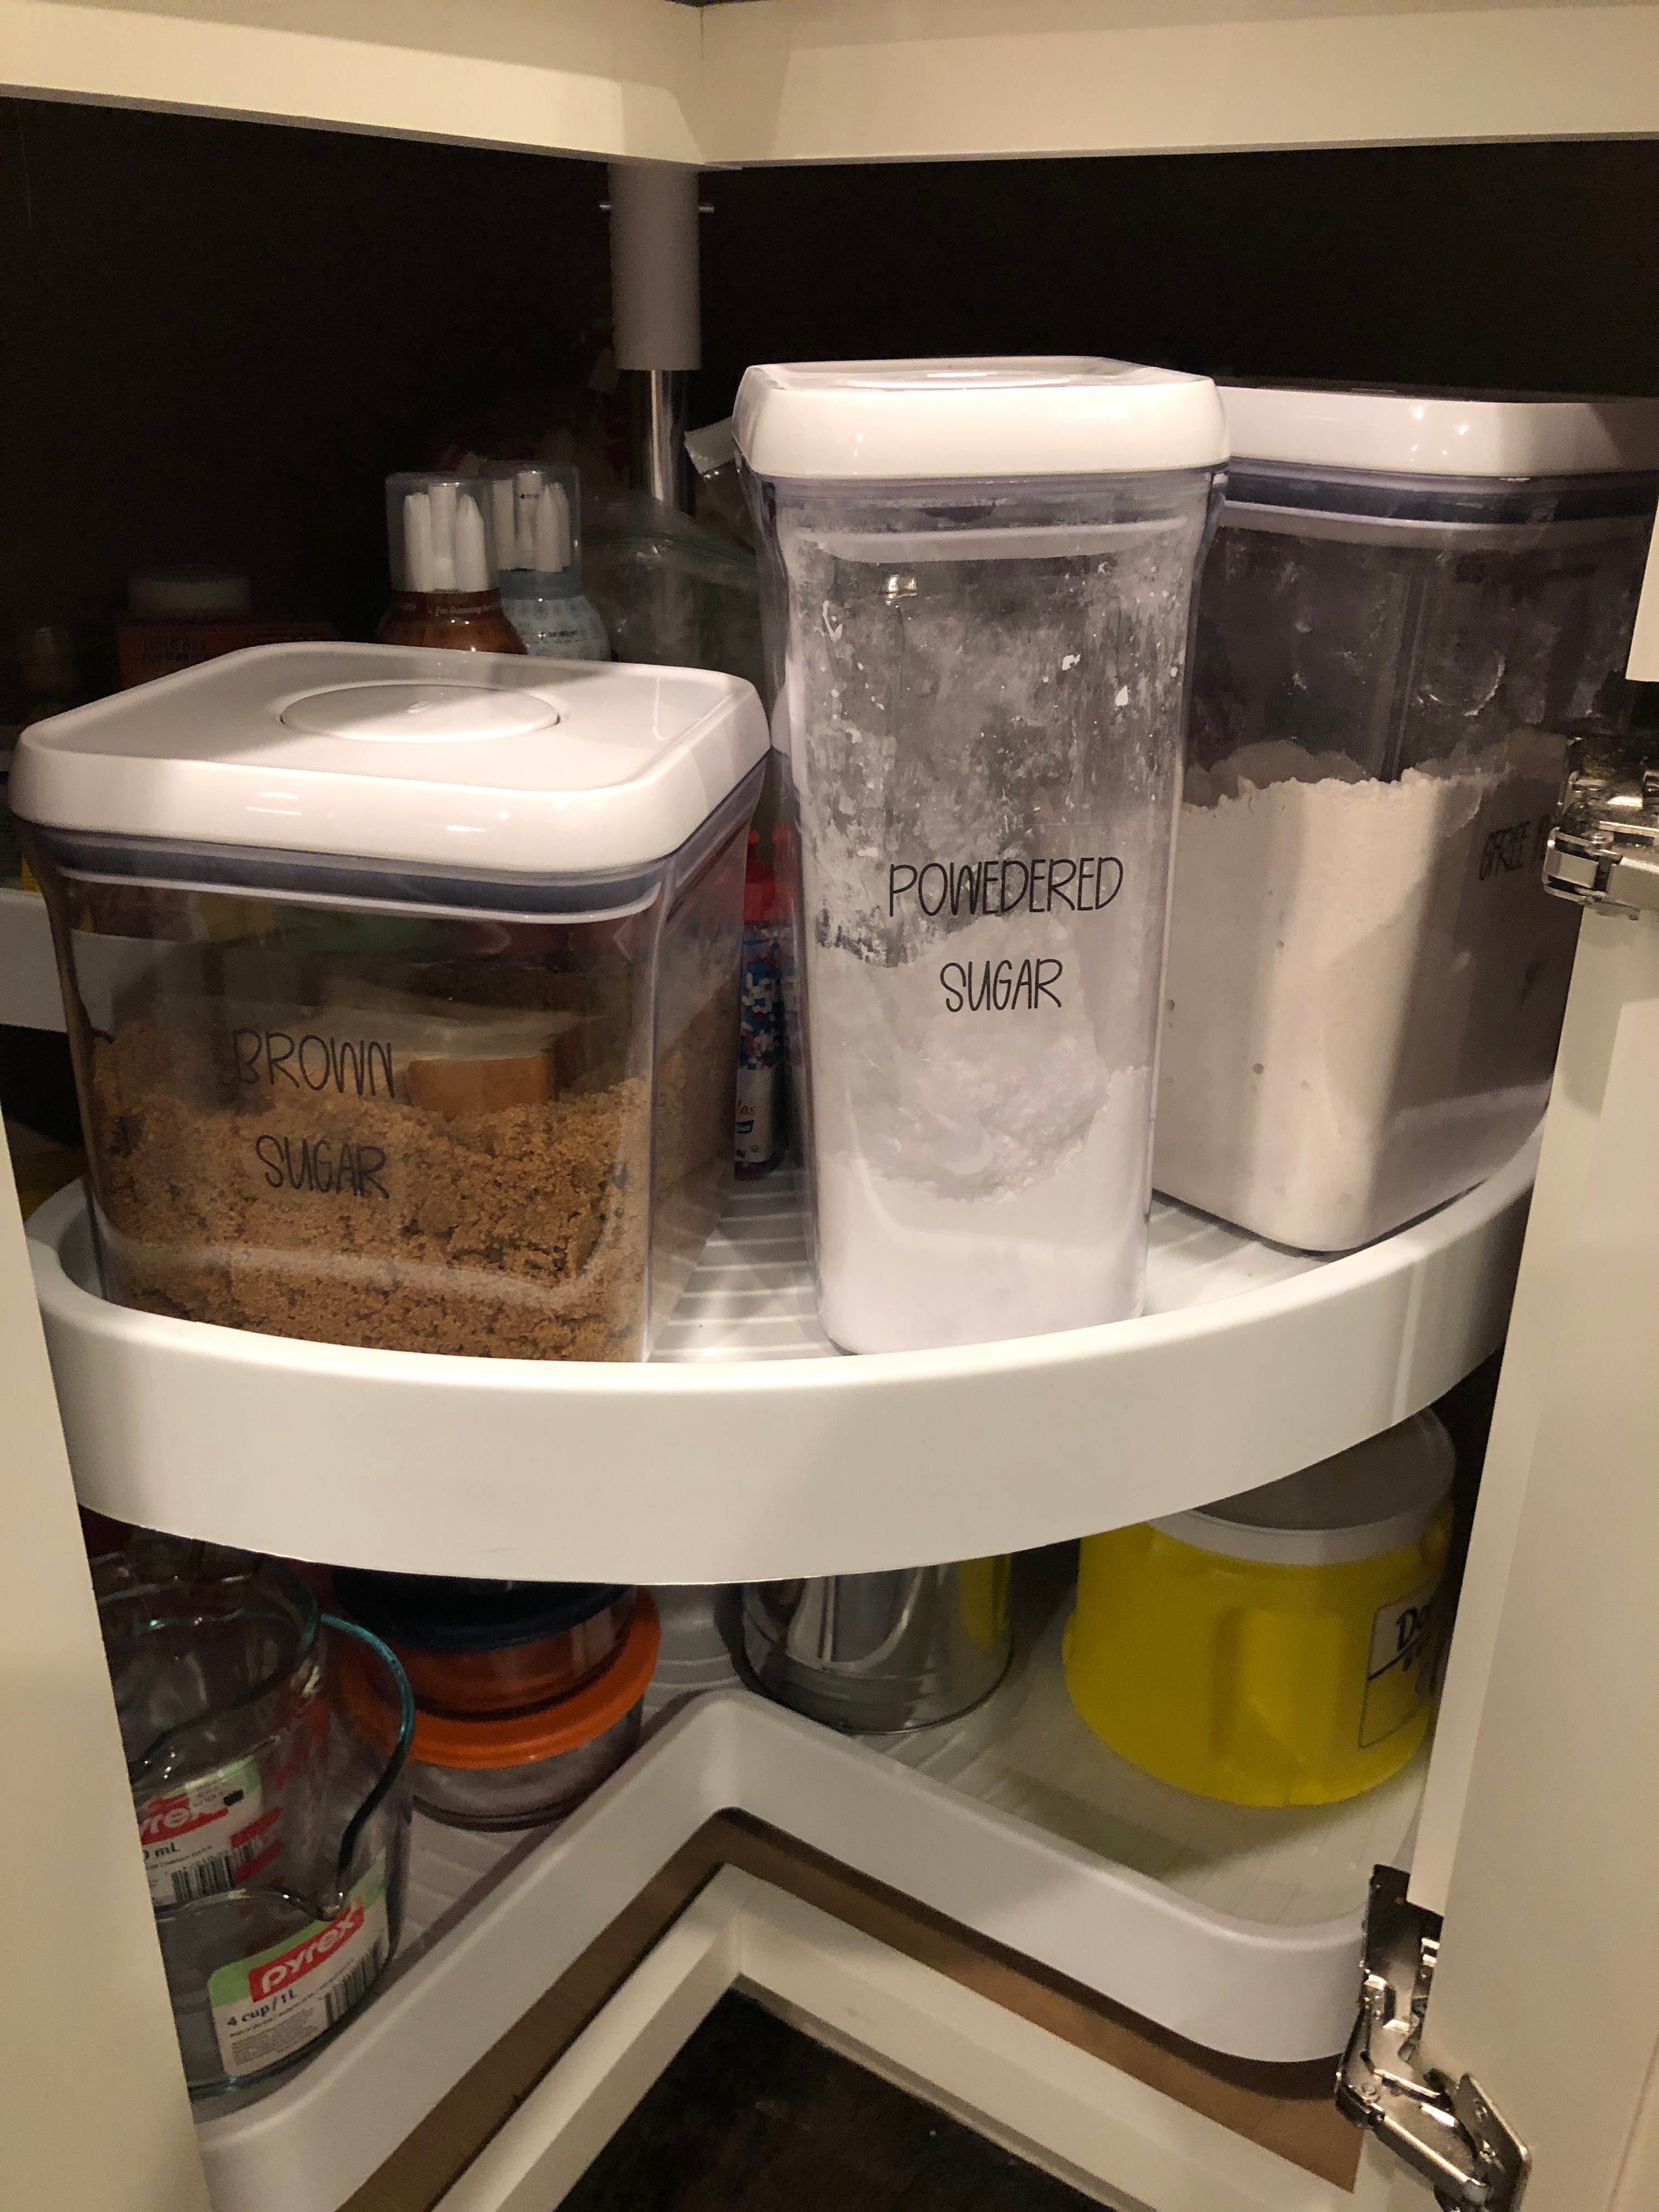
2. Choose Containers for the Space You Actually Have
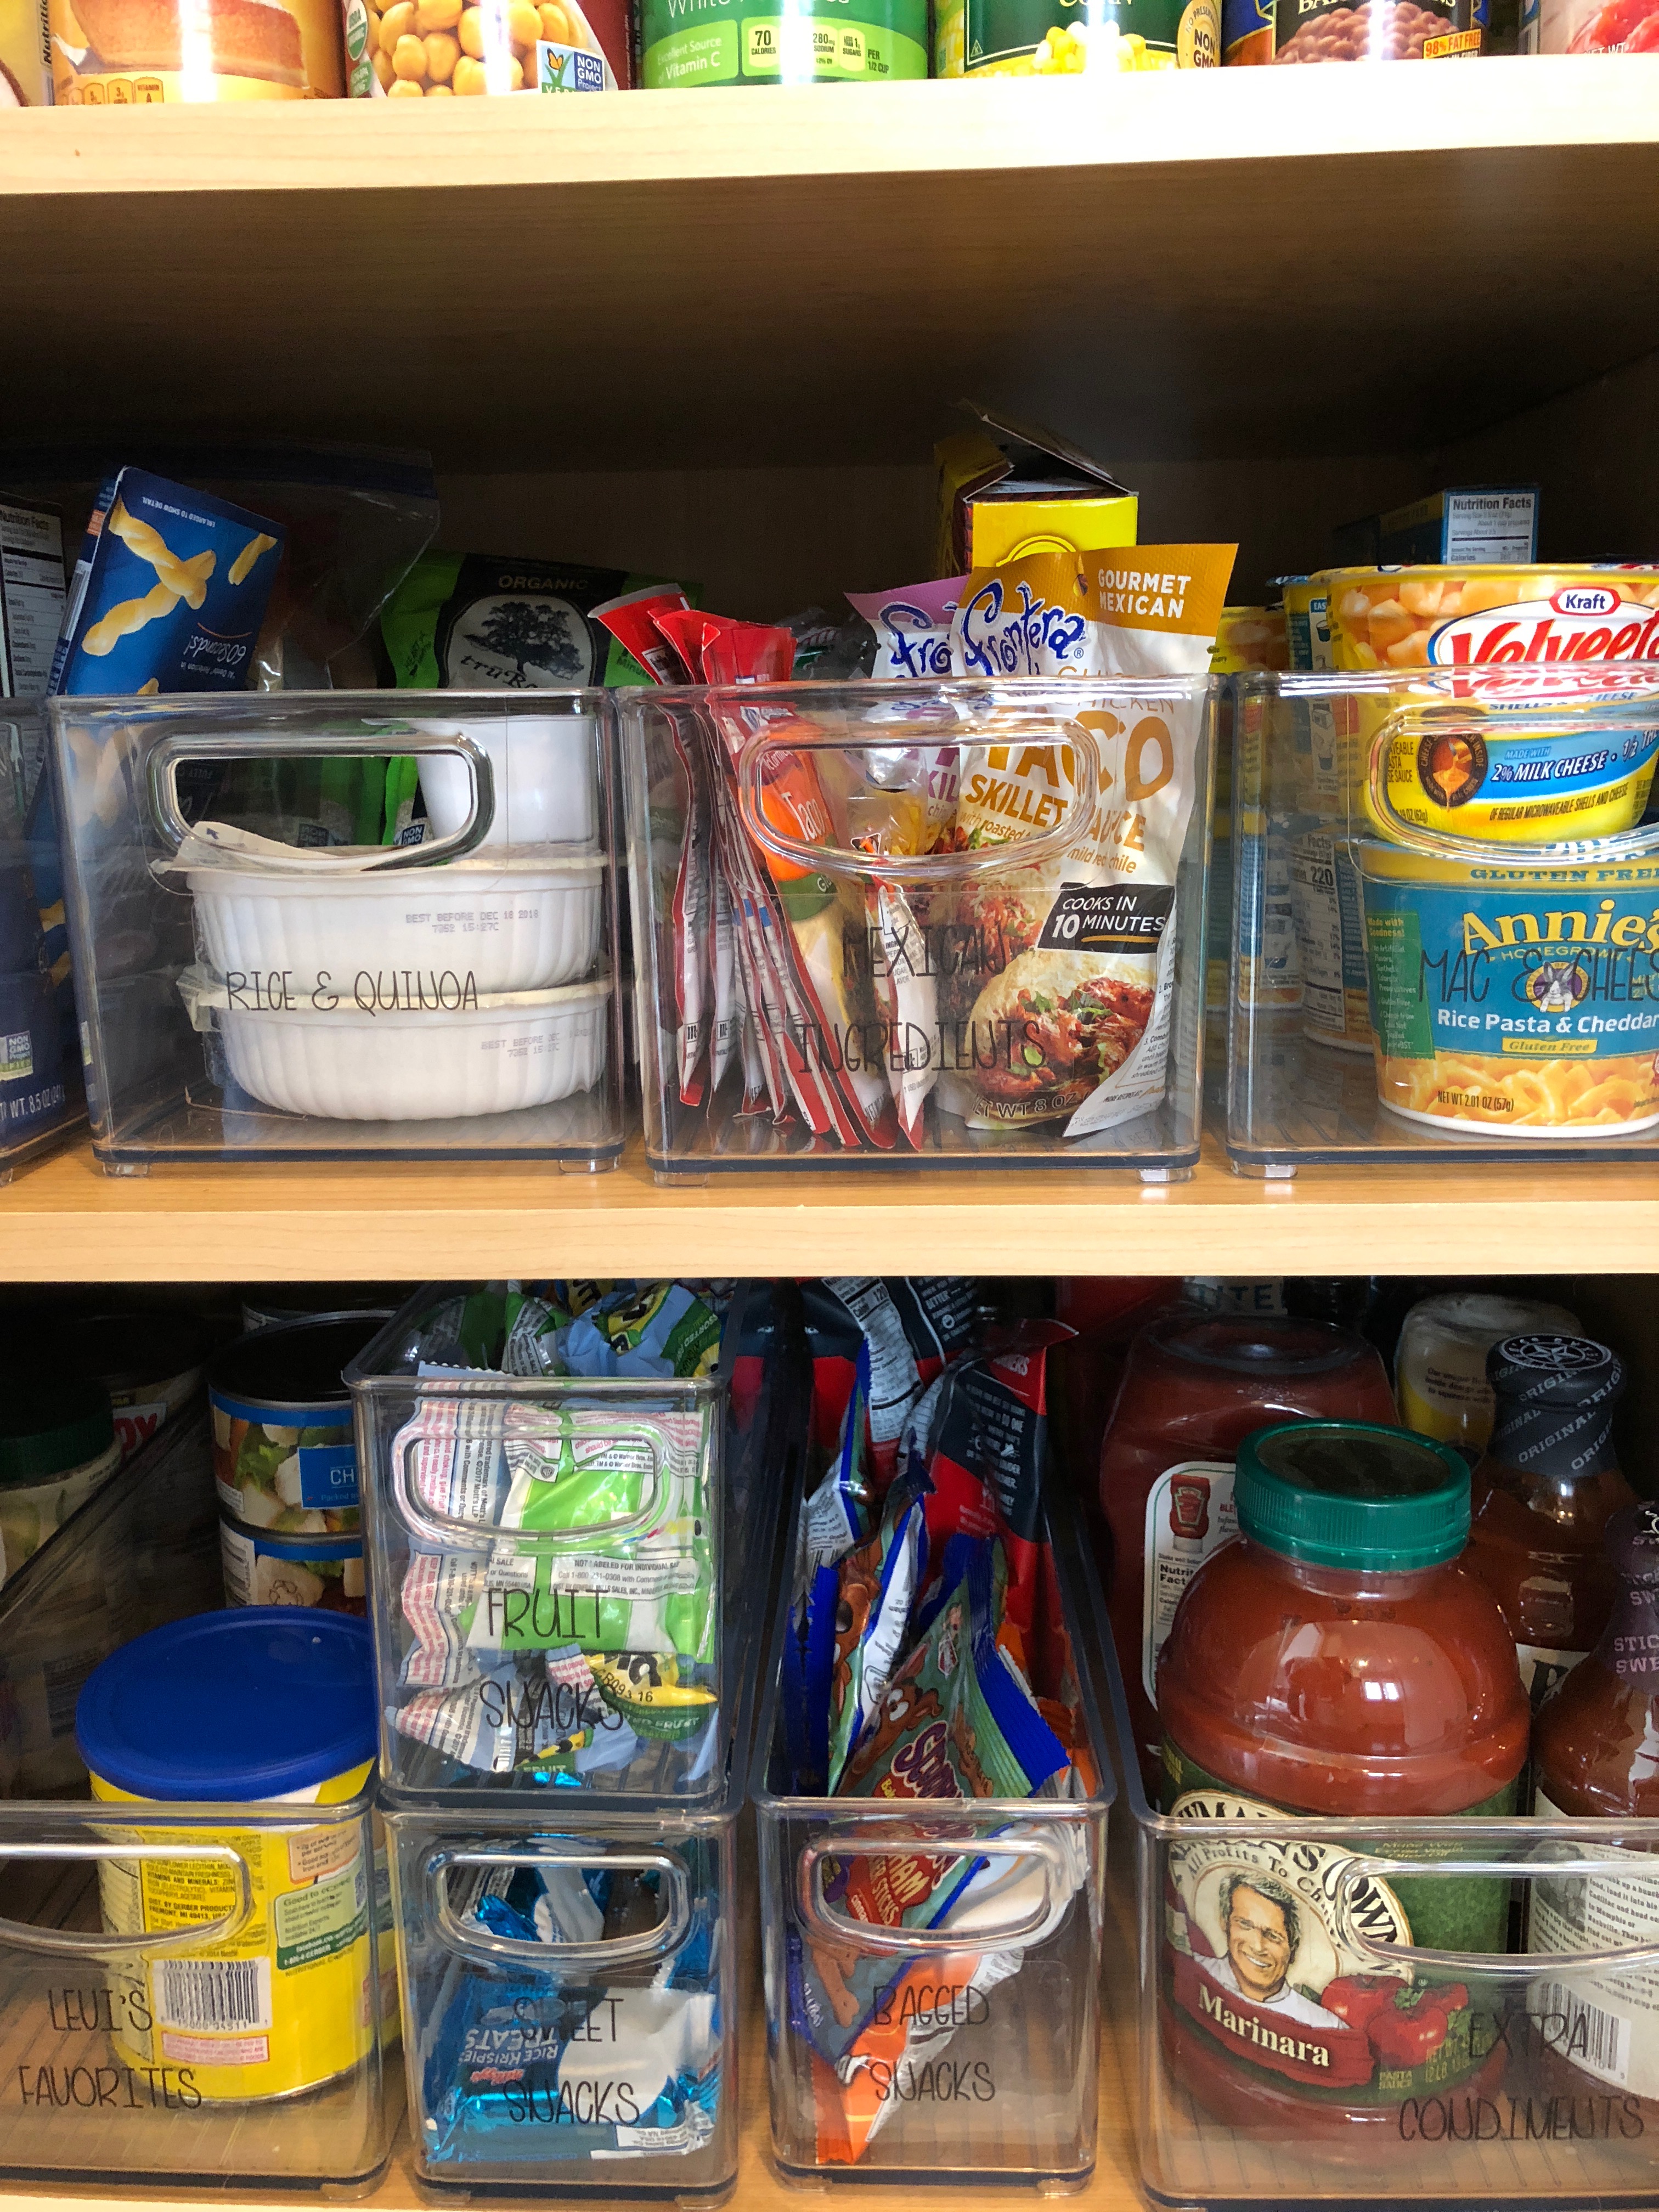
I had never thought to use bins throughout my pantry. I would absolutely use them in an office, but in the kitchen? It turns out they make SO much sense. Containers let you group similar items together and stop small bags, boxes and packets from disappearing behind one another.
Jessica also noticed that my pantry is extra deep, something I had somehow never realized. Regular bins would have wasted a ton of space, so she recommended containers that matched the depth of my shelves. This is why you should always measure before buying organizers. A cute container is not helpful if it does not fit the shelf or hold what you need it to hold.
The products we used included extra-deep pantry bins, regular-depth bins, a tiered spice rack and airtight containers for baking ingredients. You do not need to buy every organizer at once. Sort first, measure second and purchase only what solves a real problem.
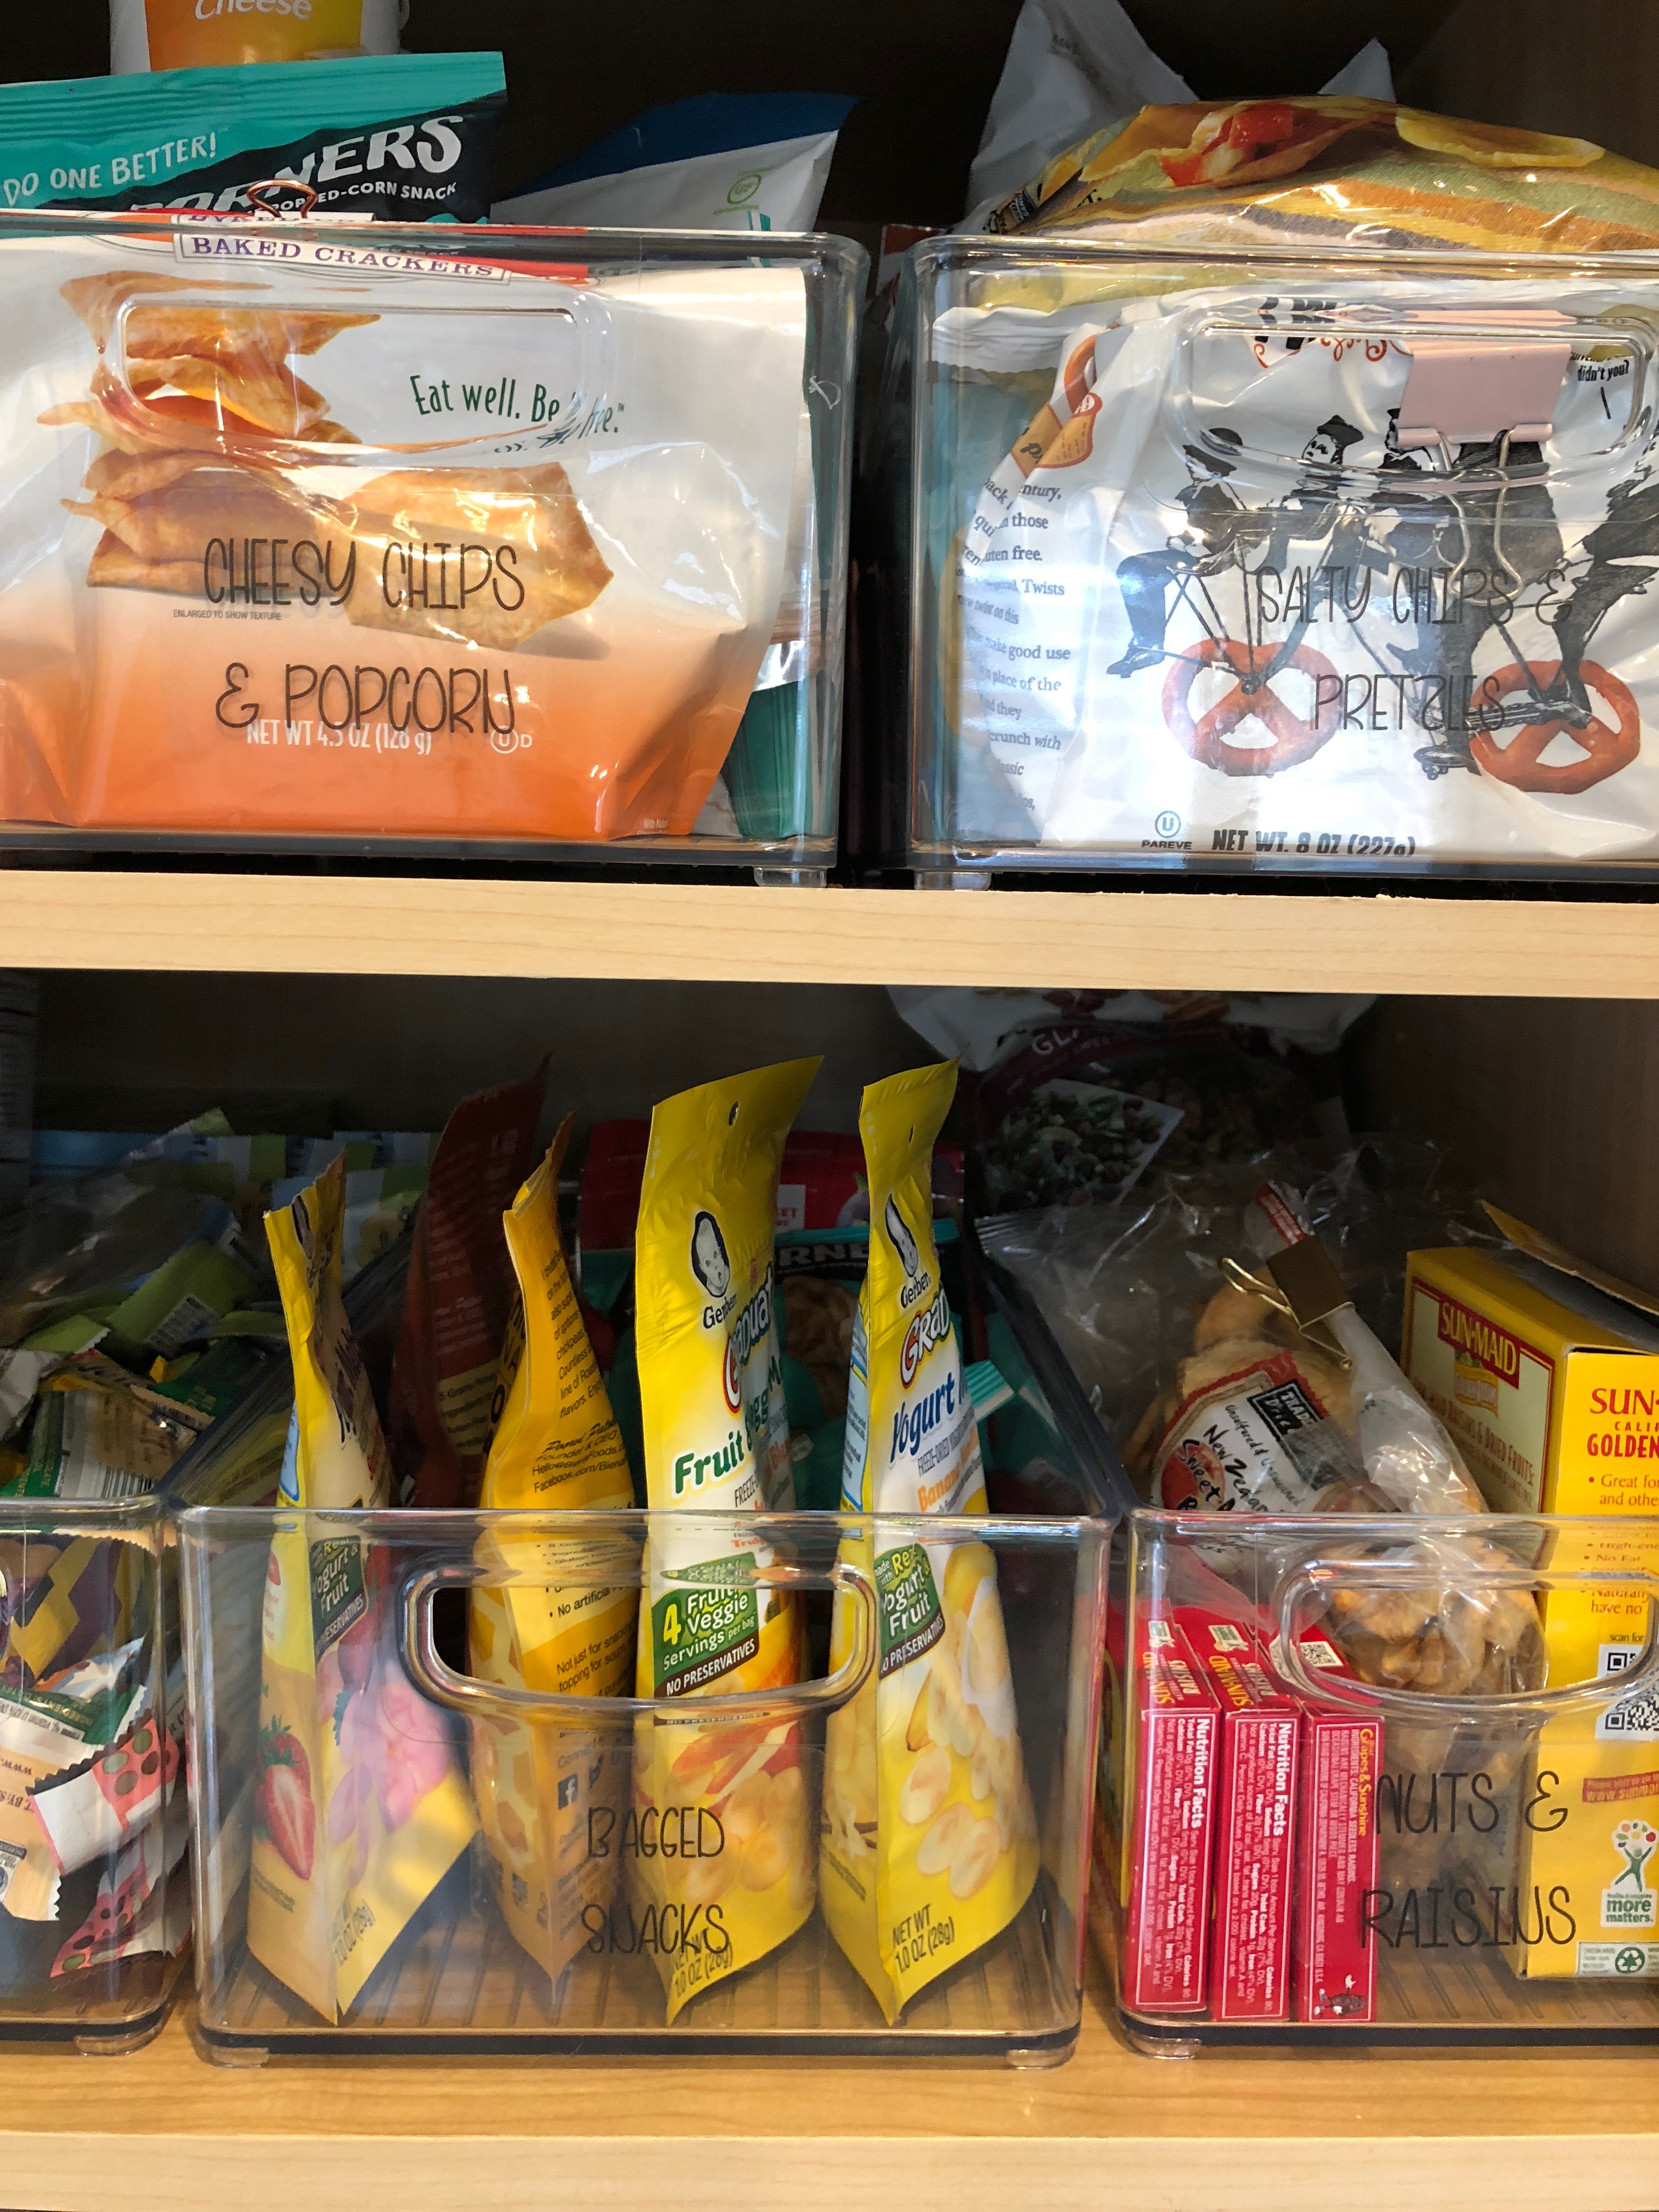
3. Label Every Category So the System Is Easy to Maintain
LABEL, LABEL, LABEL. Without labels, how is everyone supposed to know where things belong? A bin might look organized on day one, but if no one knows whether it is for snacks, baking supplies or breakfast foods, everything will slowly become mixed together again.
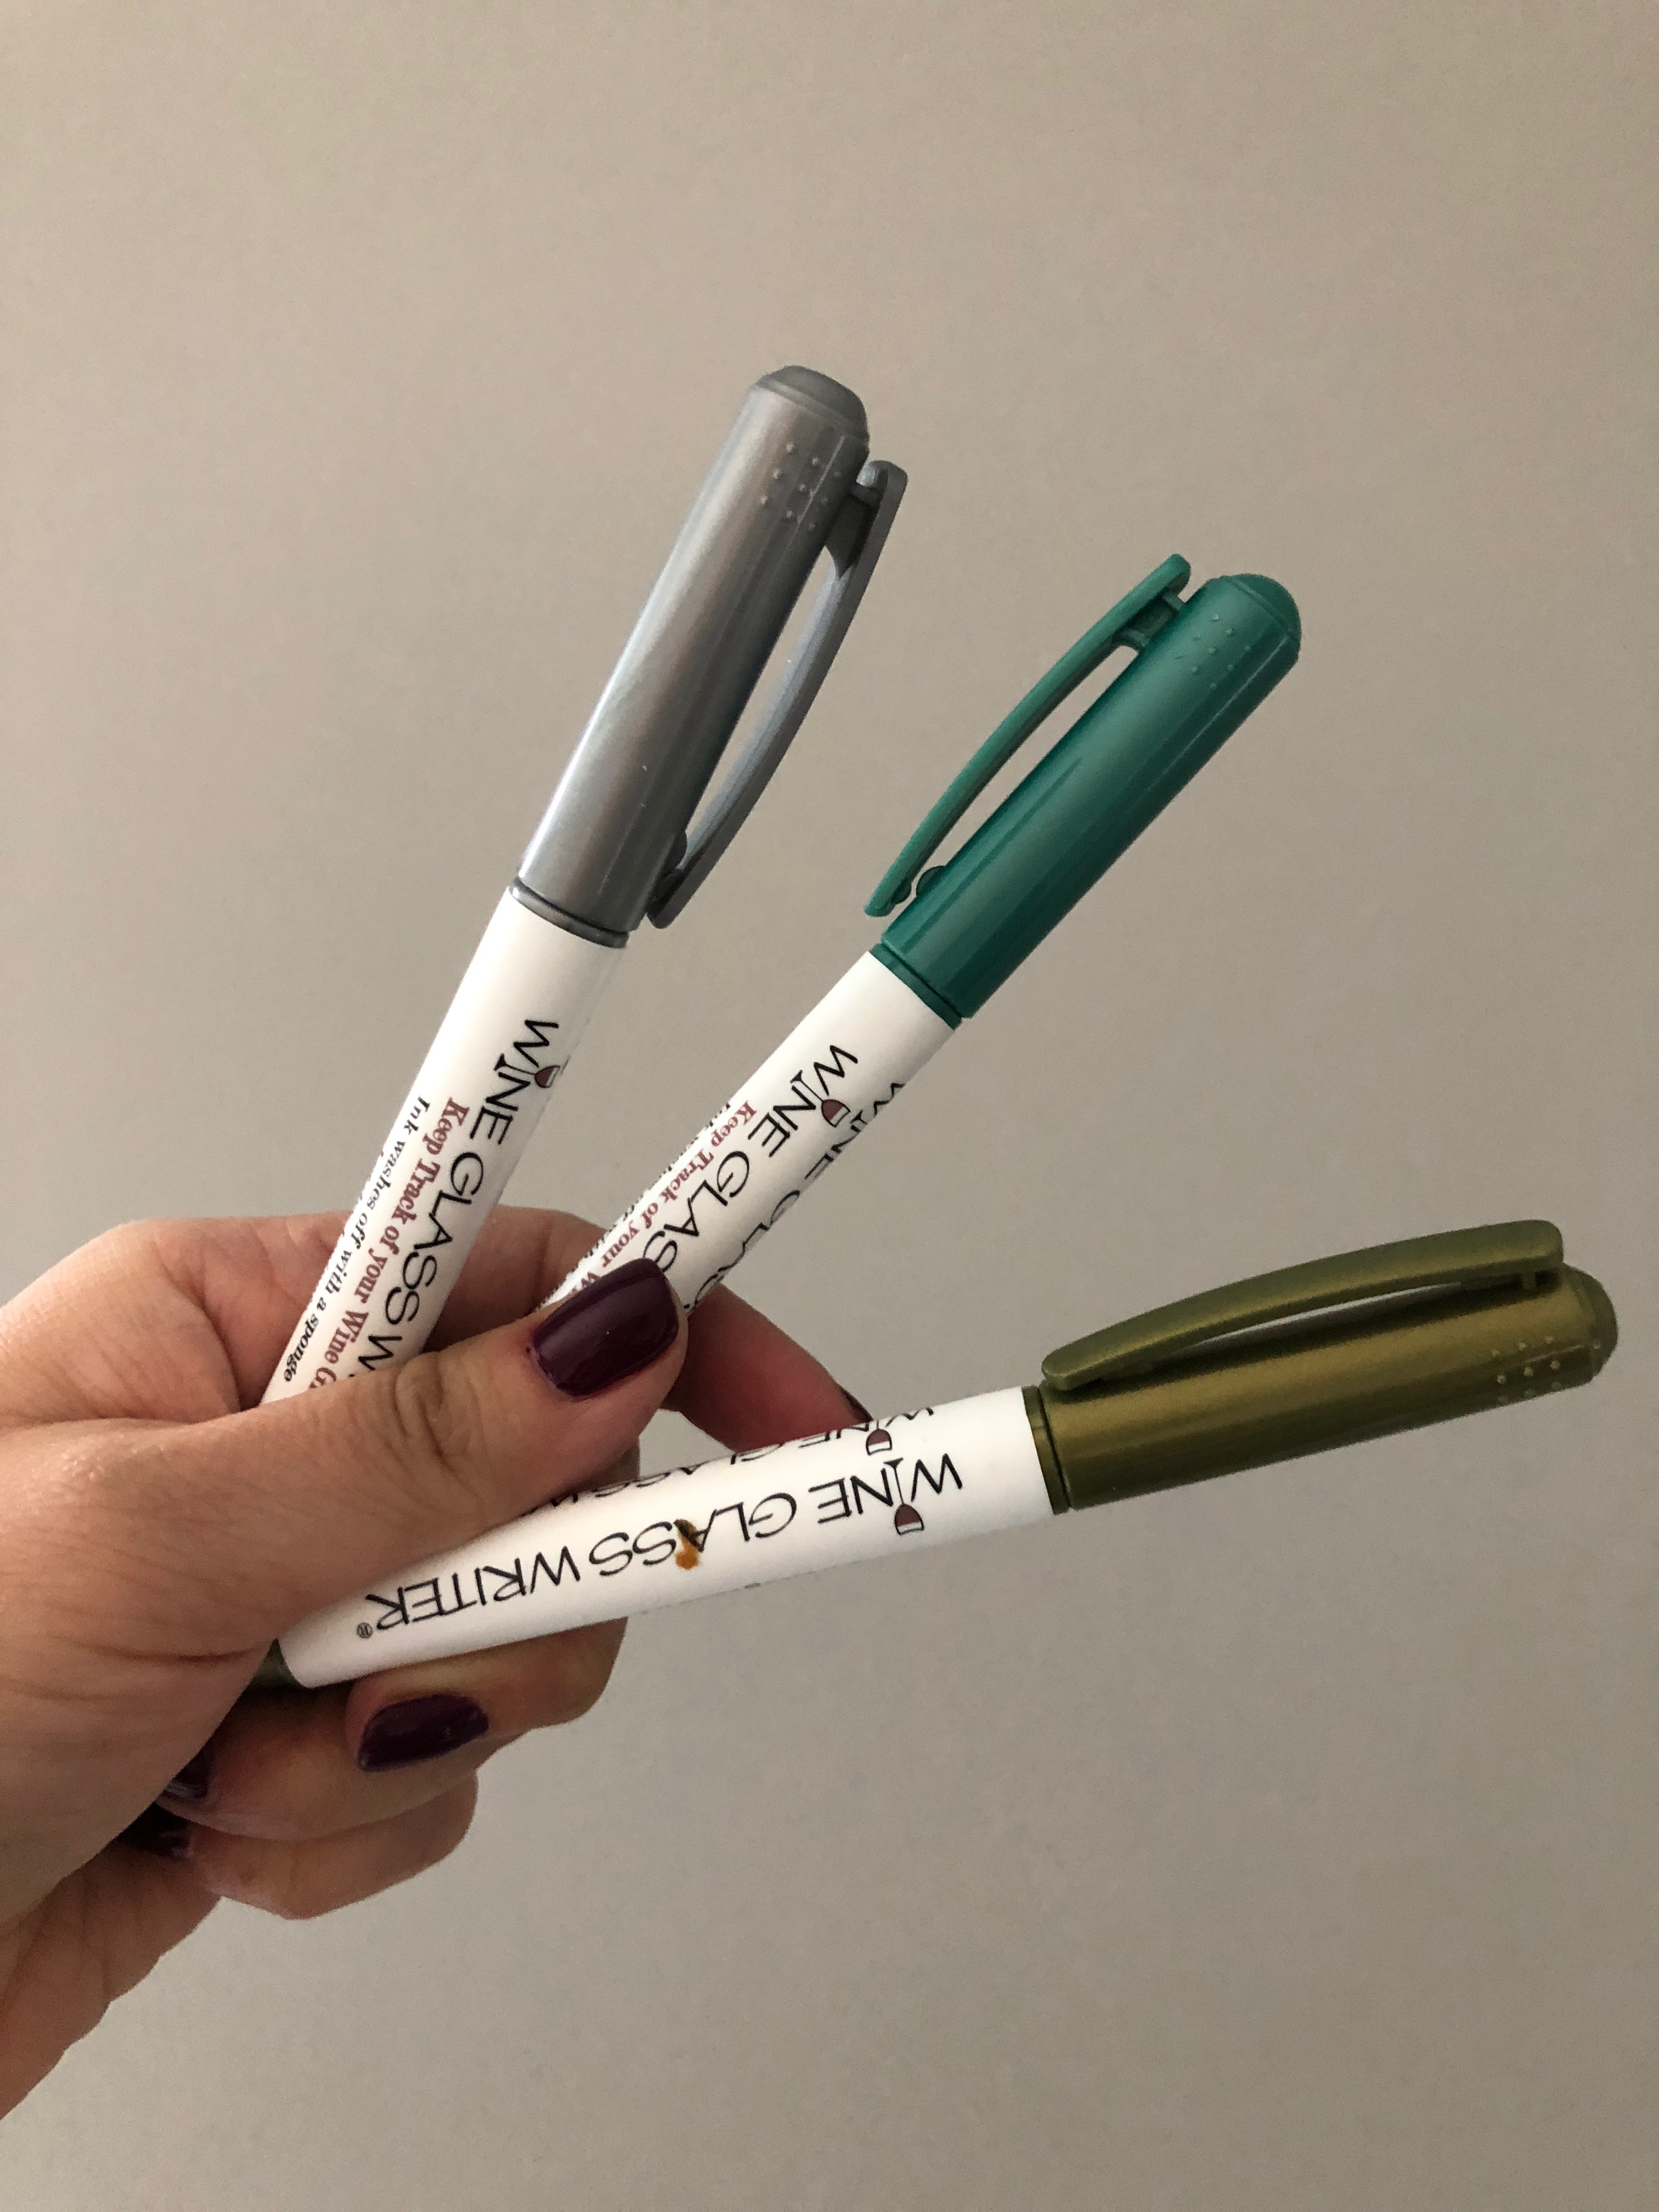
I used clear printable labels and created the wording on my computer. For a few baking containers, I used wipe-off markers that were originally intended for wine glasses. I already owned them, and they worked perfectly! Picture labels can be great in kids’ spaces, while removable labels make sense for categories that change often.
The label is not only there to make the pantry look pretty. It gives every family member a clear instruction for where an item goes. That is what turns a one-time organizing project into a system the entire household can maintain.
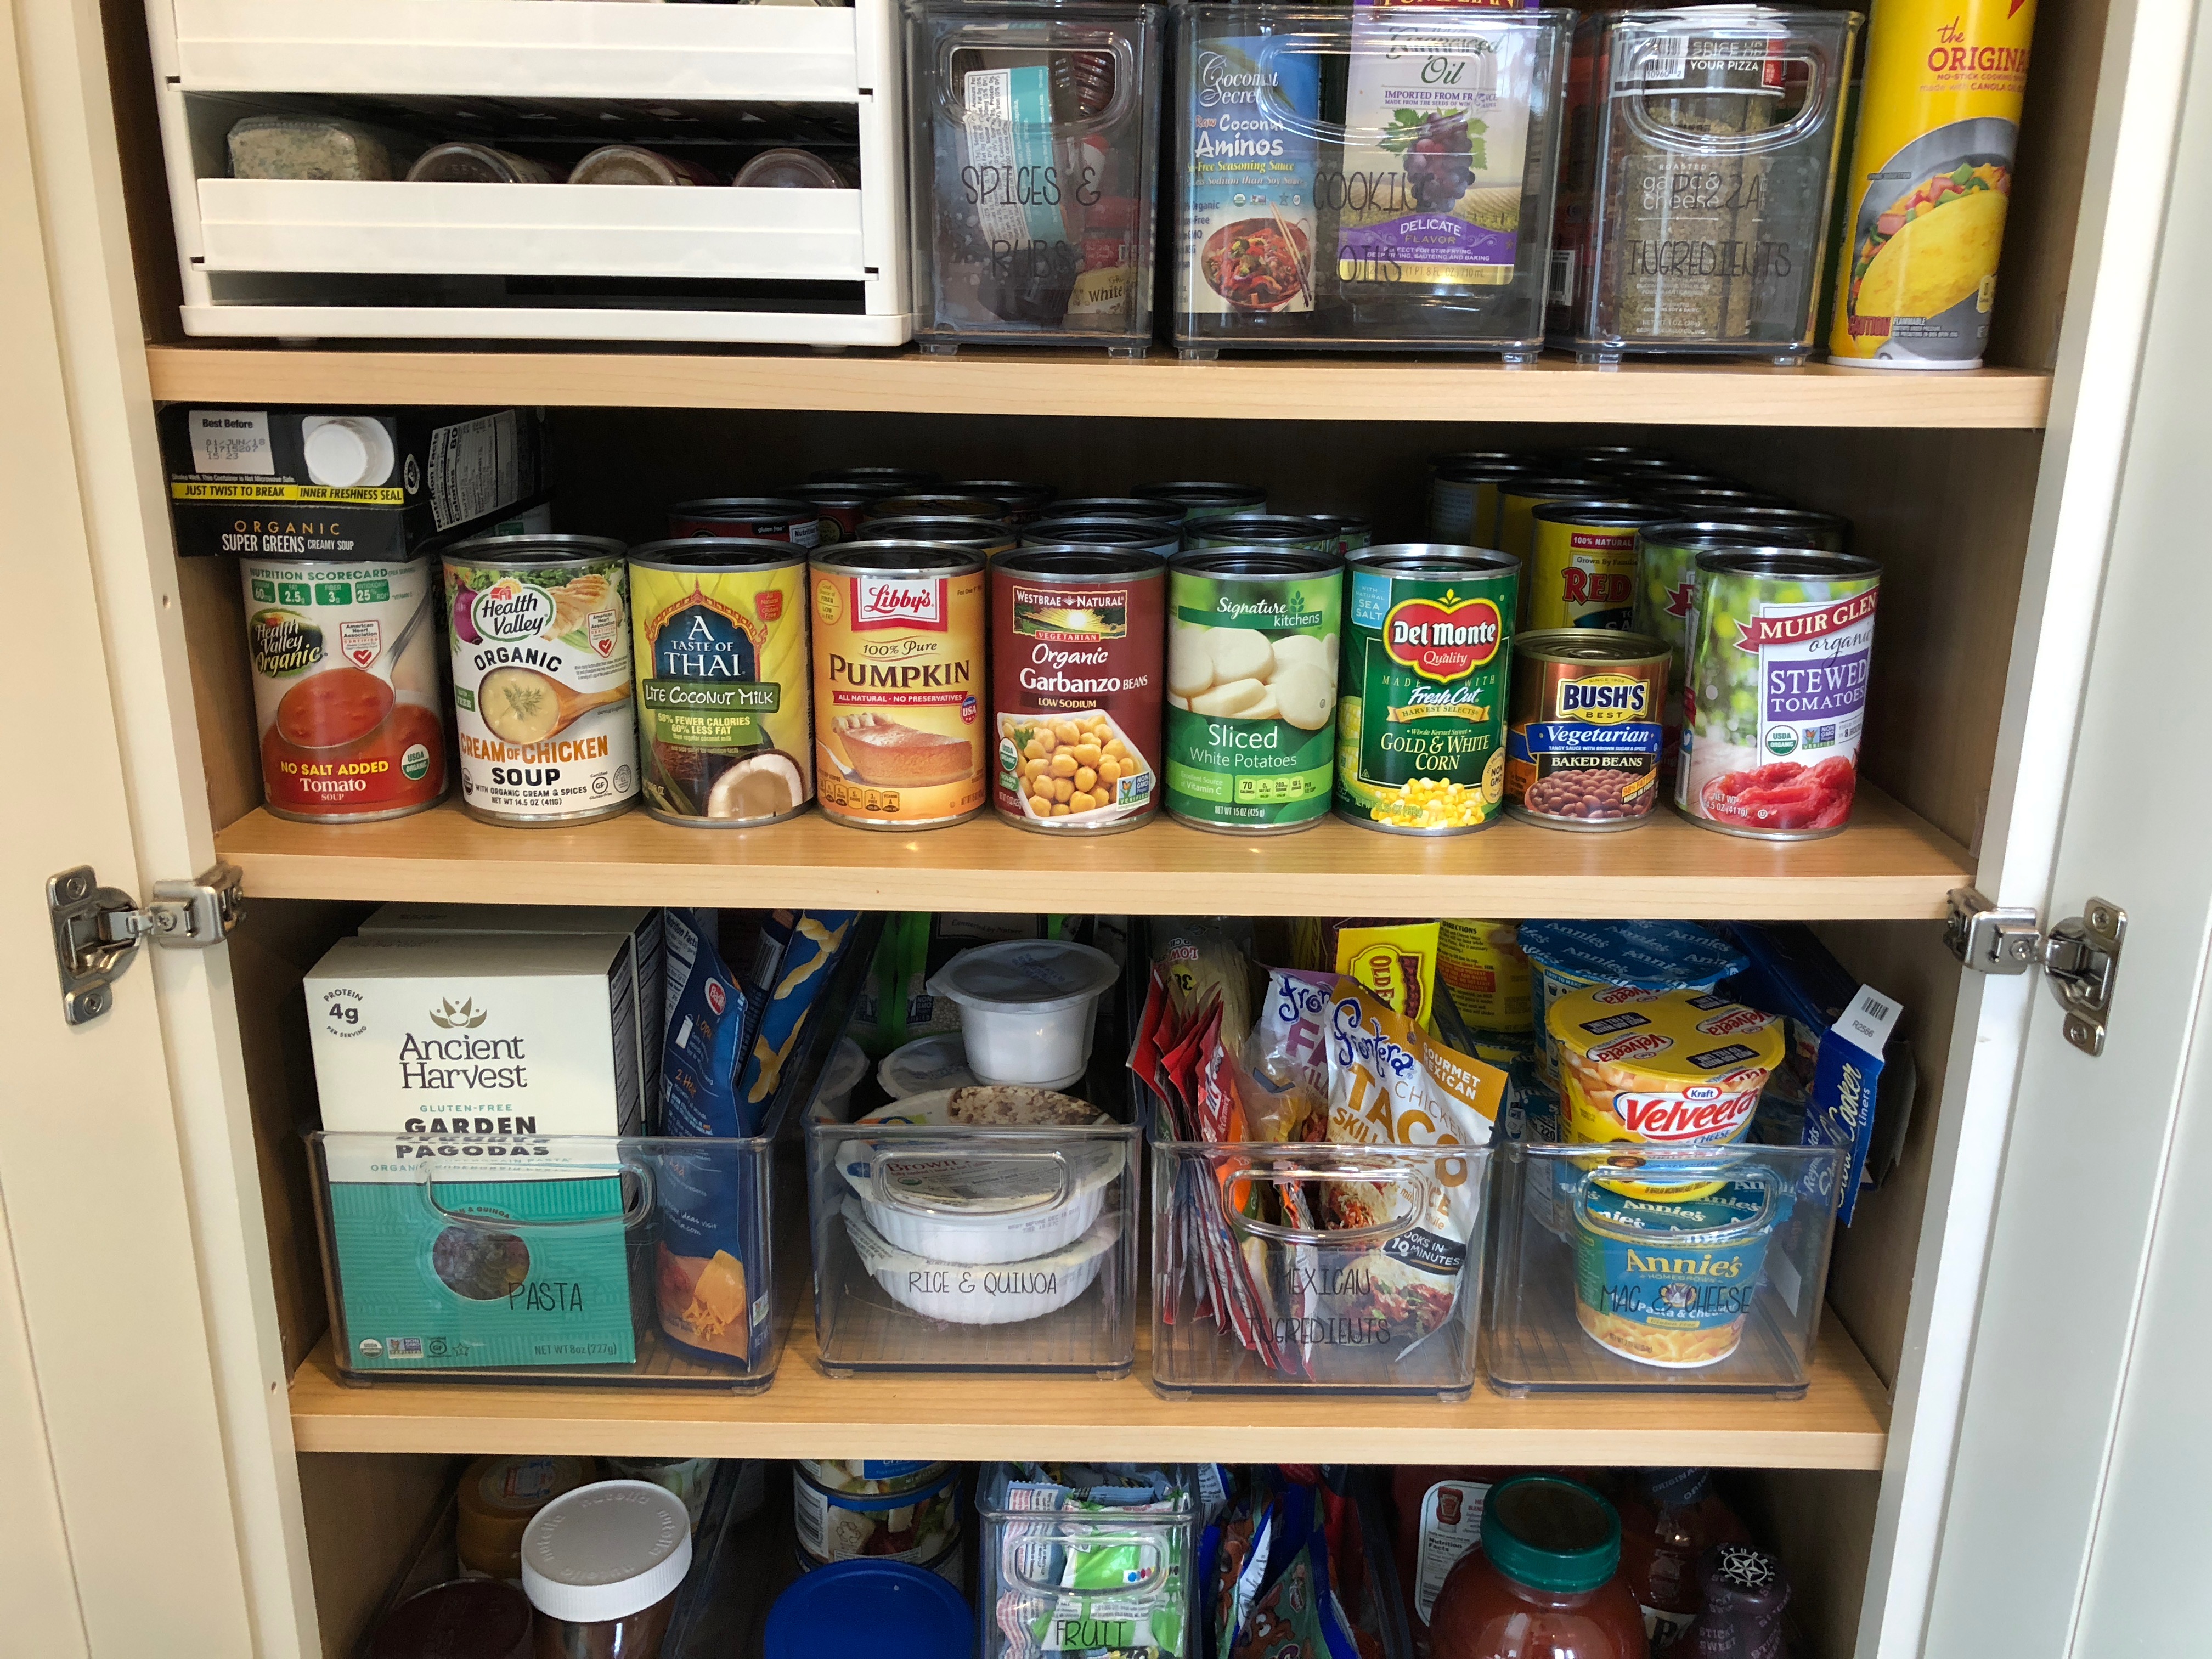
4. Arrange Pantry Staples Like a Grocery Store
This tip is specifically for kitchens, and it is kind of GENIUS. Arrange canned goods the way a grocery store does. Put one of each variety in the front, then line up matching cans directly behind it. You can see every type you have without spreading cans across the entire shelf.
When you buy more, put the newer cans in the back and move the older ones forward. This makes it easier to use what you already own before it expires. It also lets you see when you are truly running low, which helps prevent buying duplicates.
The same front-to-back idea works for sauces, cereal, snacks and other pantry staples. Keep the item you should use first where you can see and reach it. Again, SO. MUCH. SENSE.
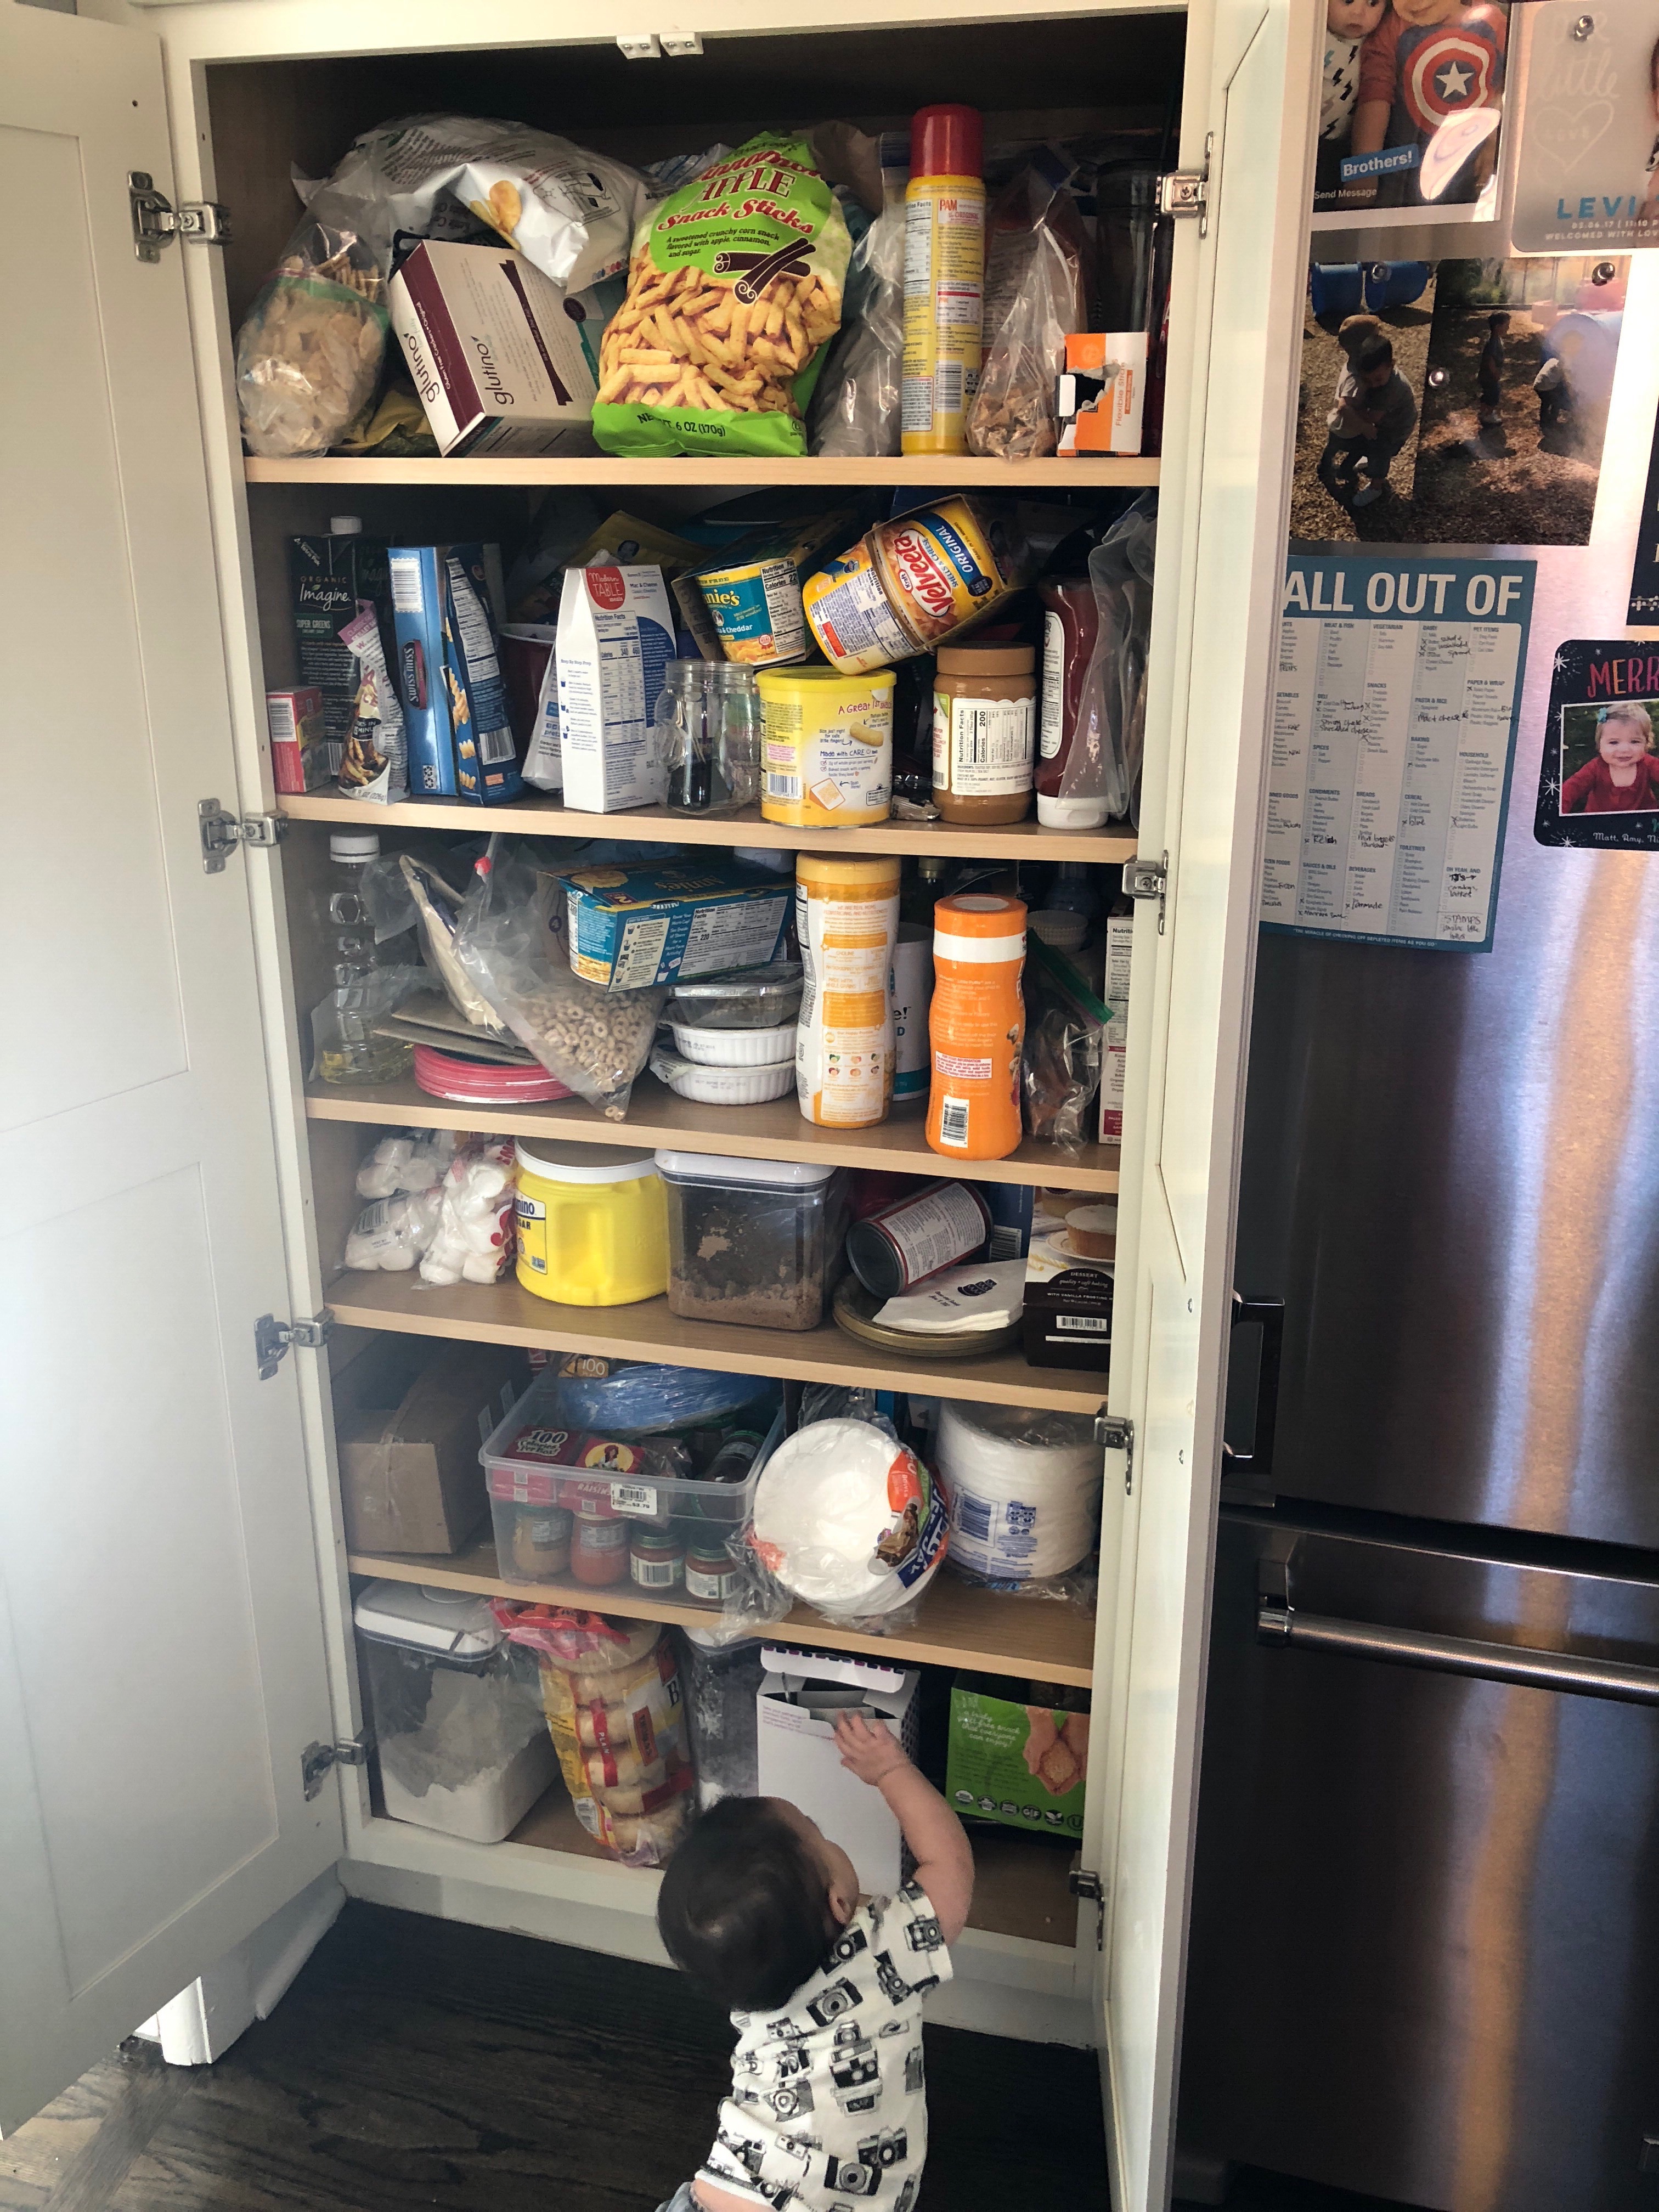
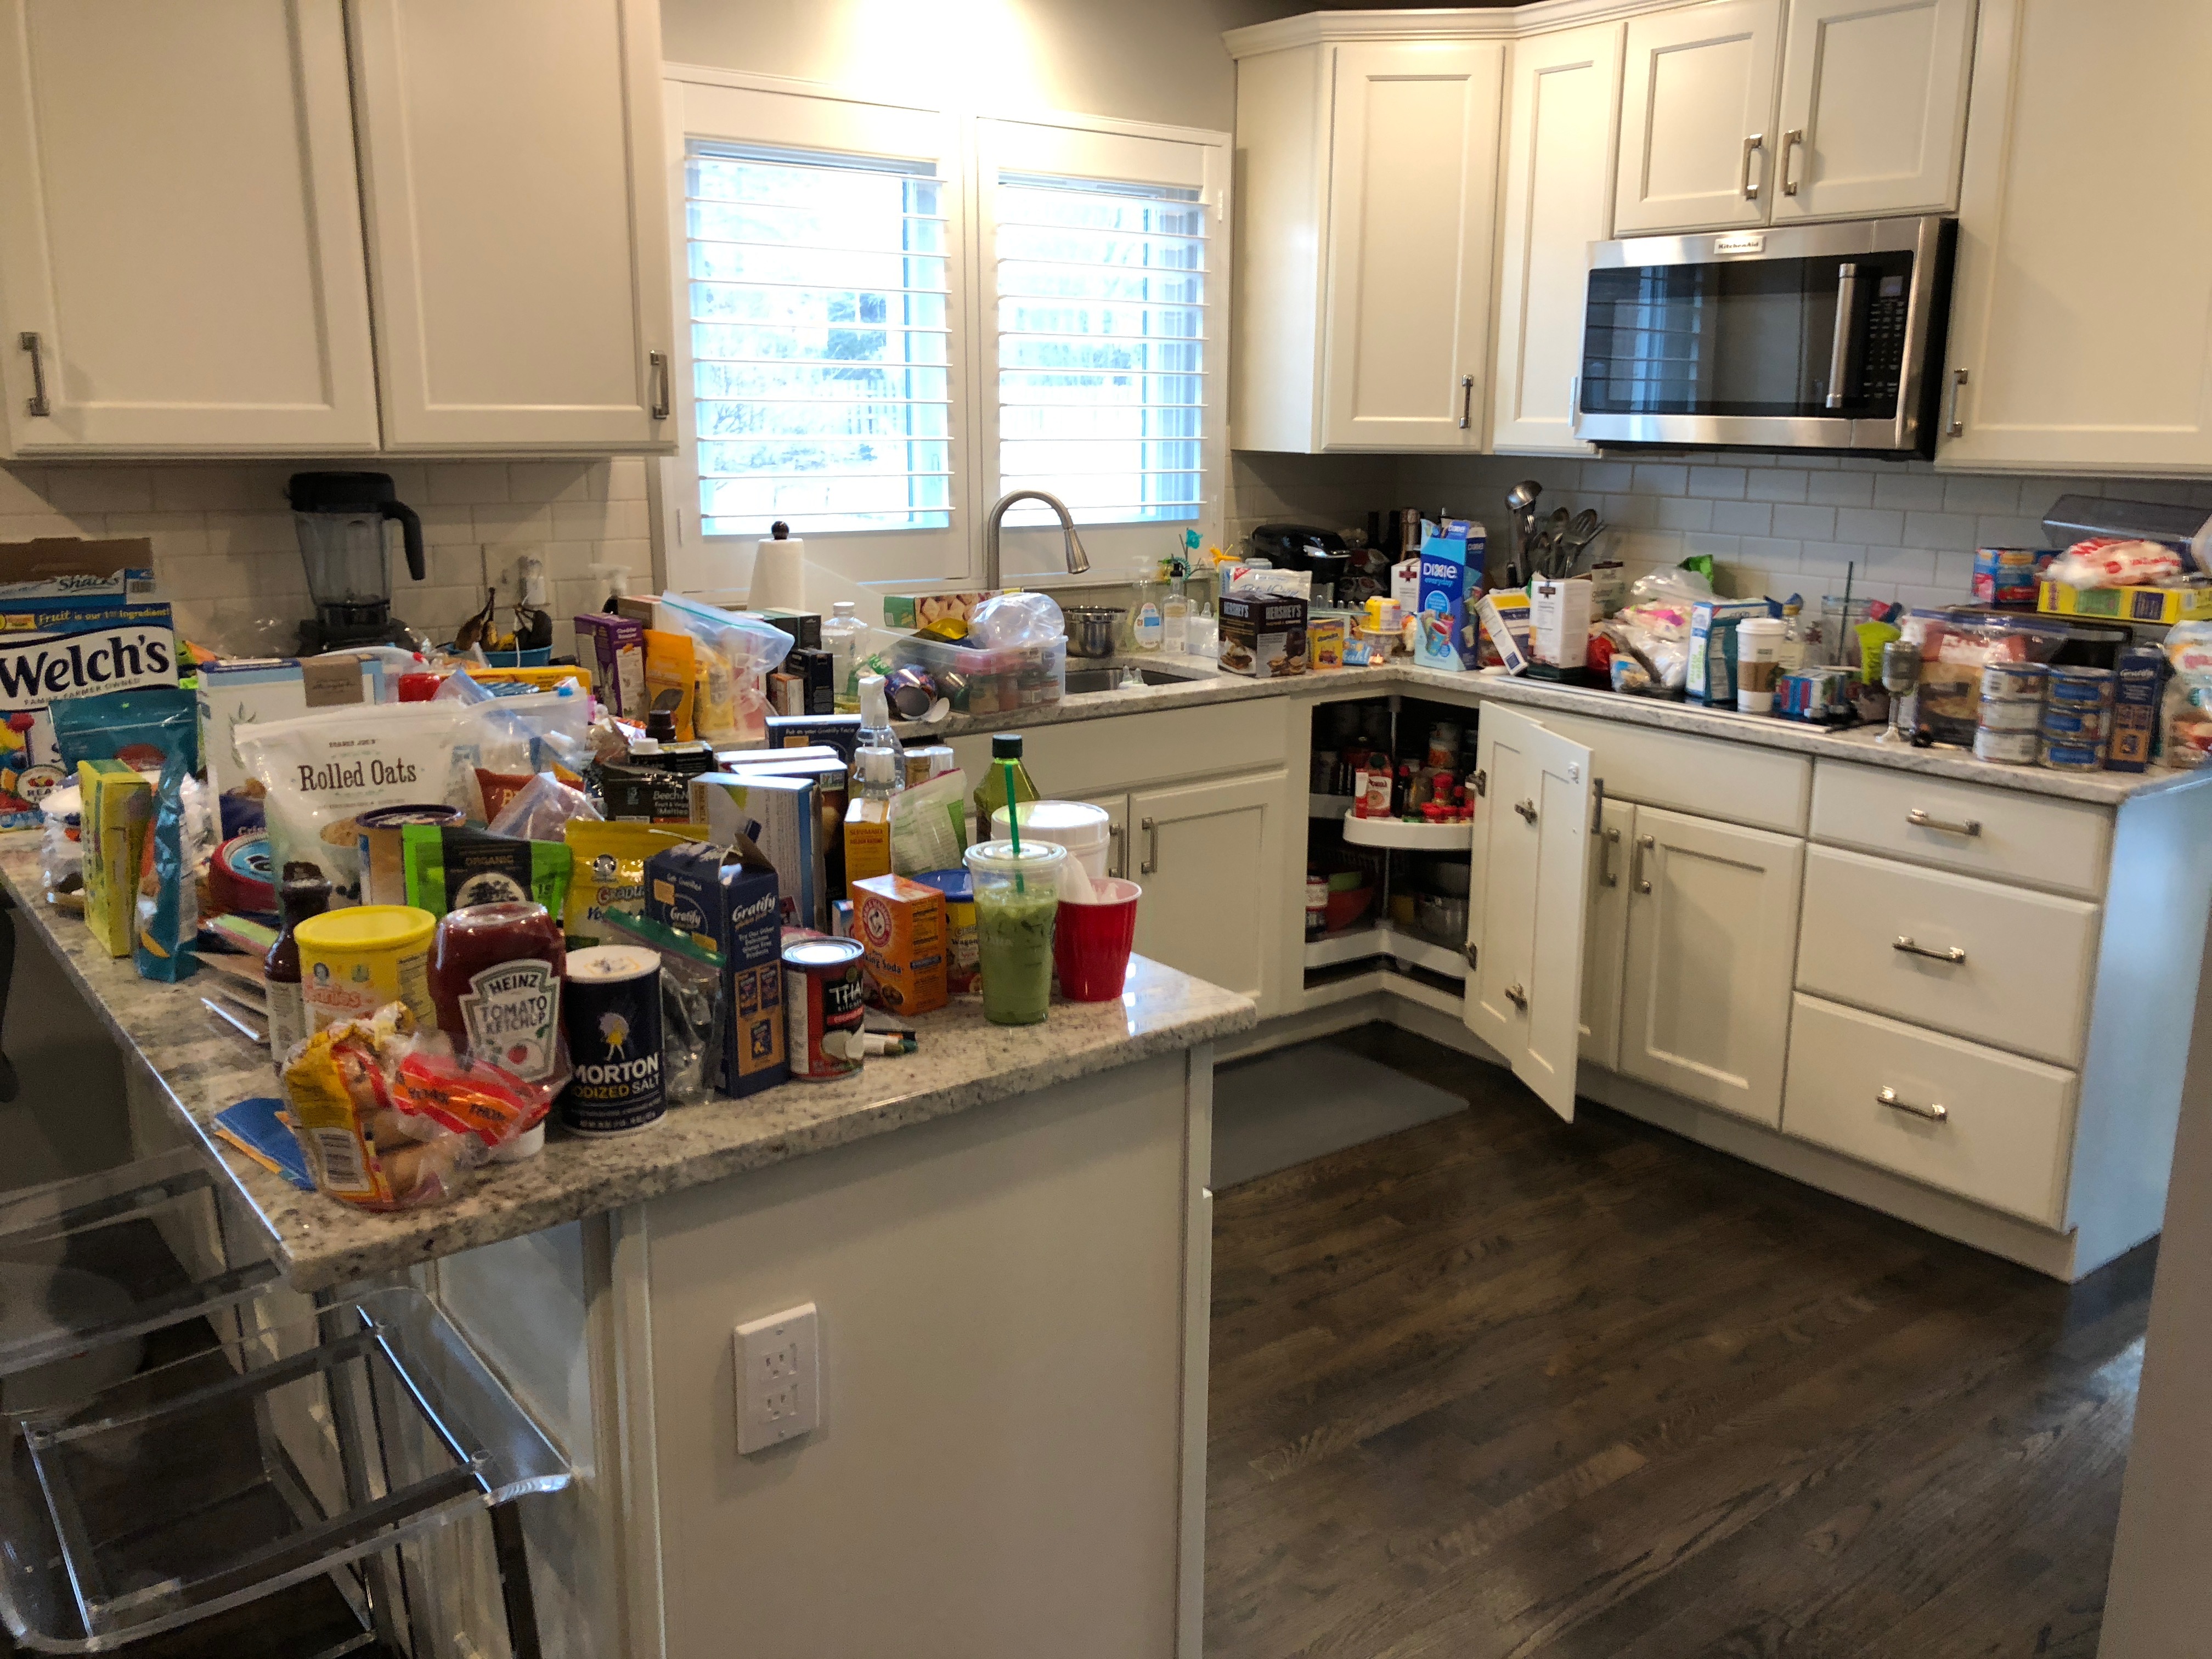
The before. Gahhhhh, so pretty, right?! LOL. It was an eyesore!
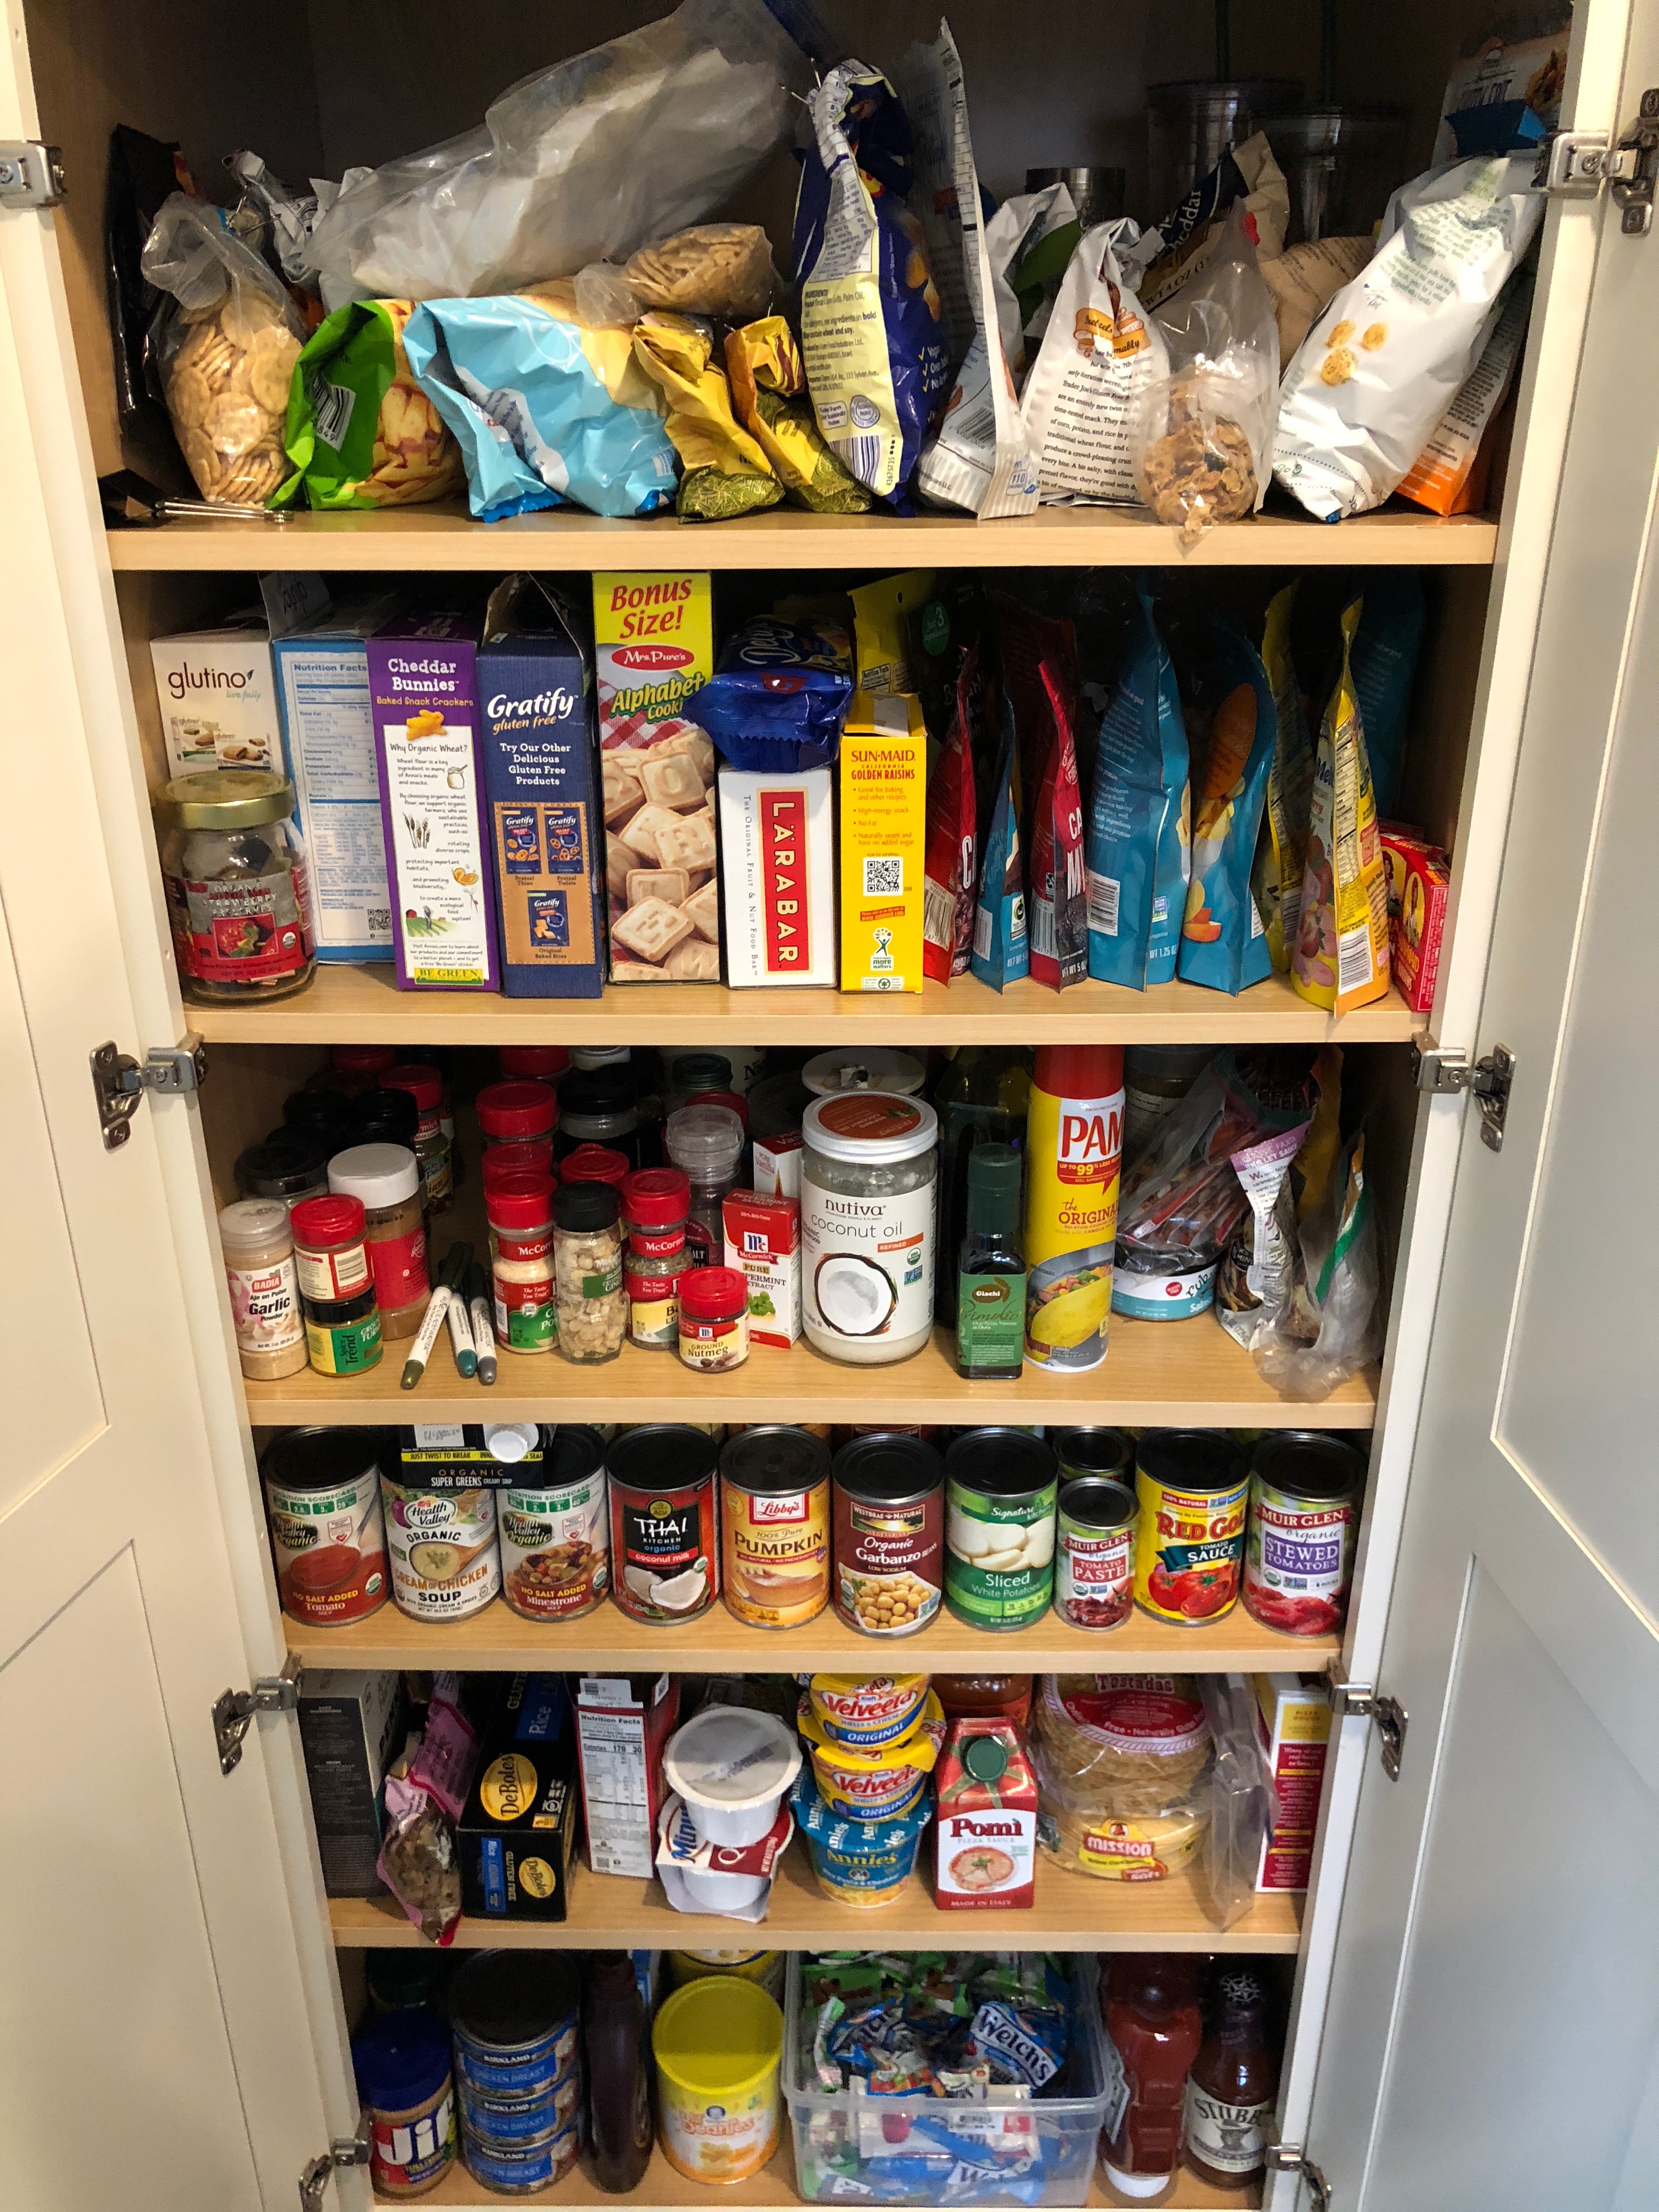
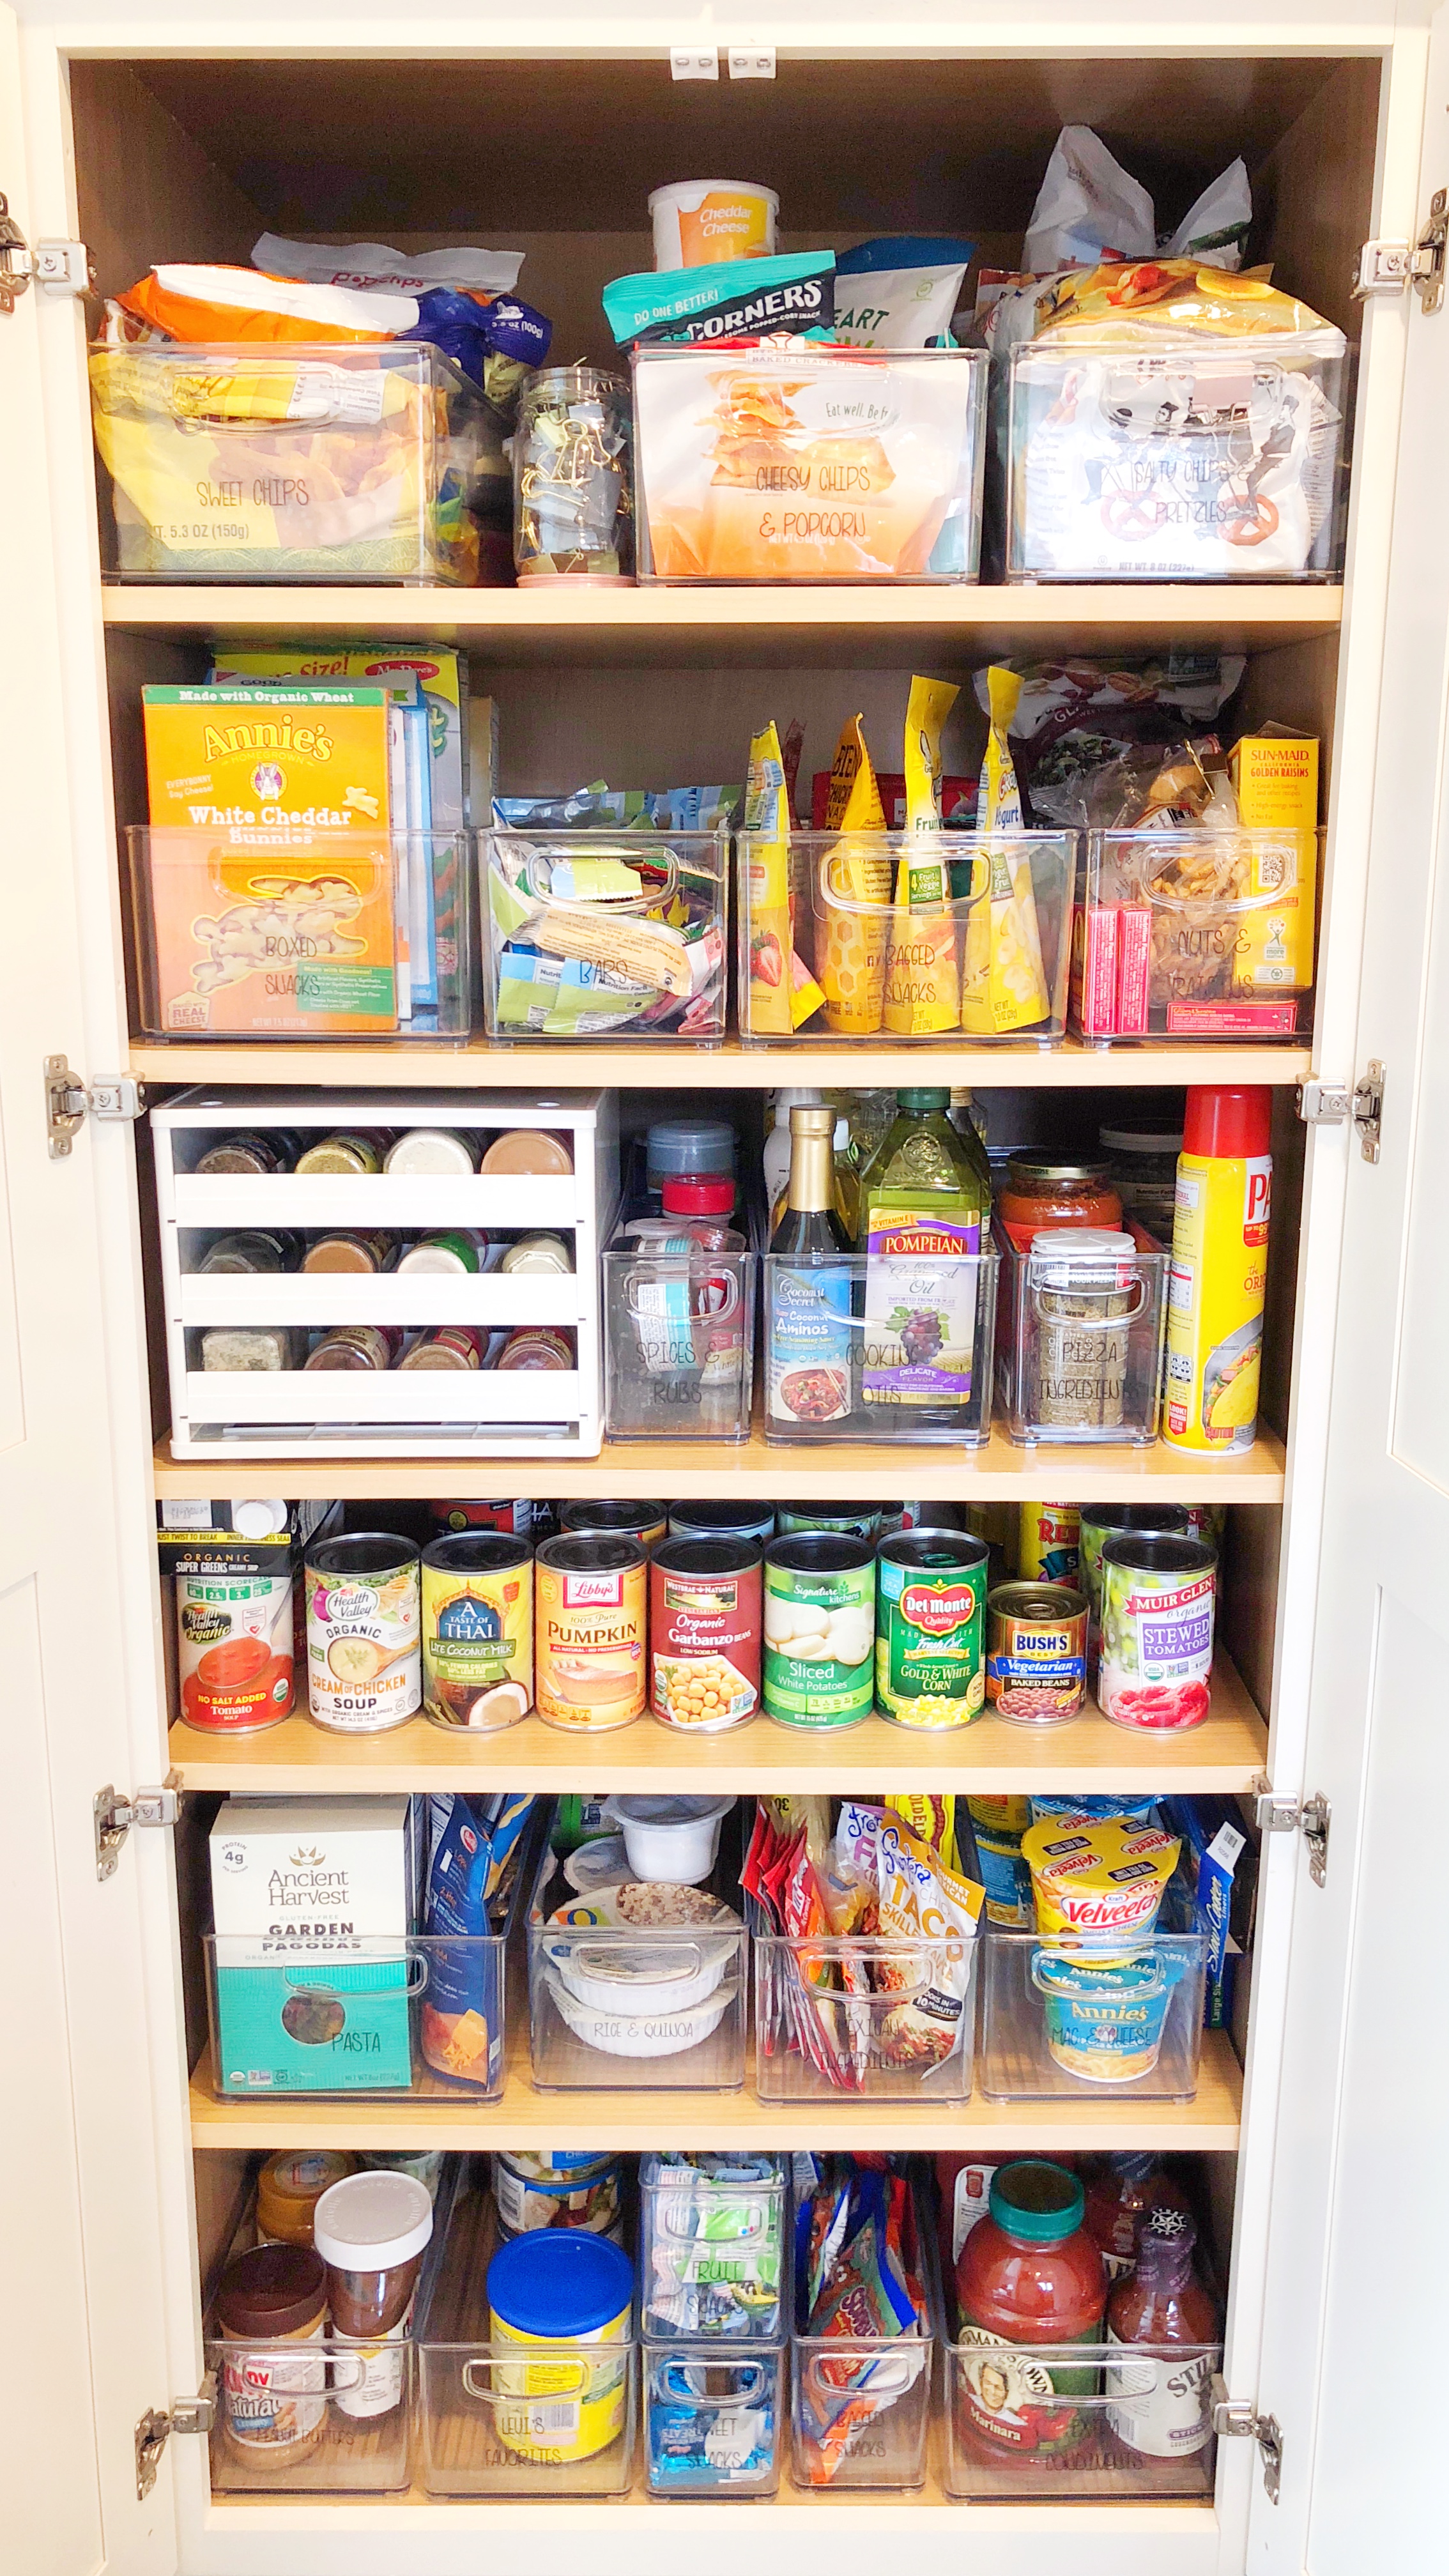
This is what the pantry looked like right after Jessica left. We did not have every bin yet, but WHAT an improvement!
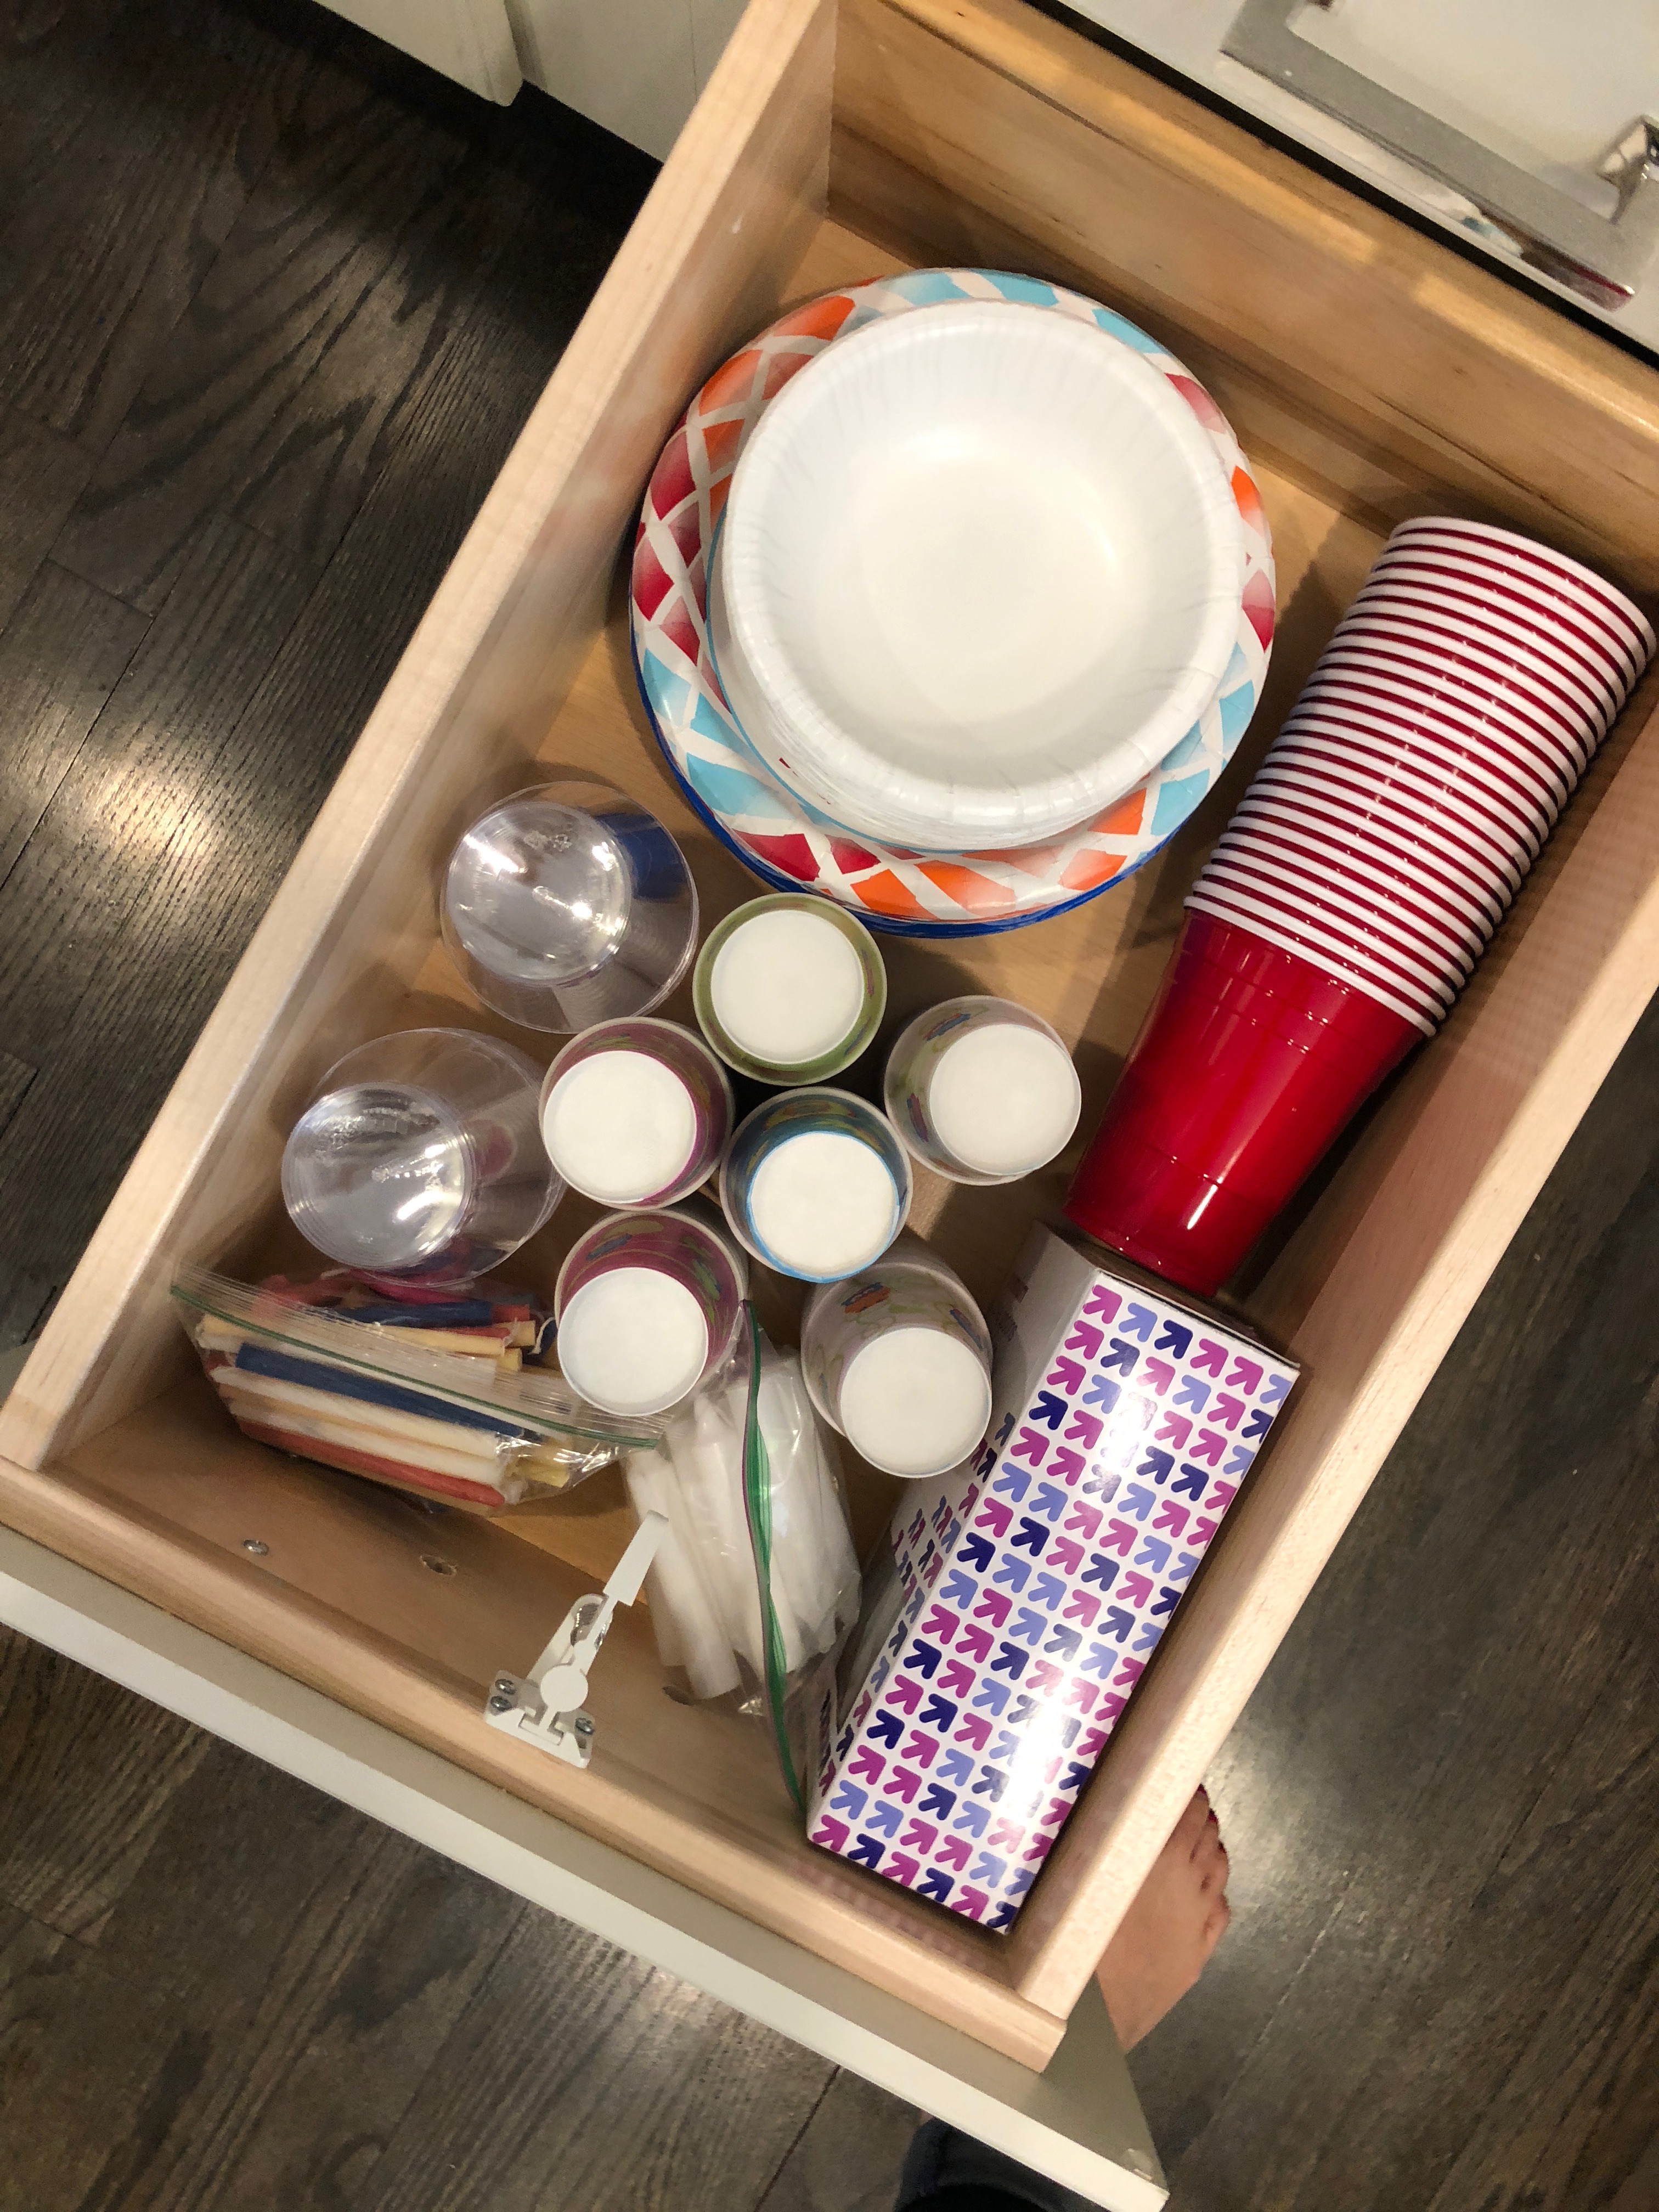
How to Keep Your Home Organized After the Big Reset
The best part is that we were able to maintain the system because it was designed around how our family actually used the kitchen. Everything had a clear home, the containers fit the shelves and we could immediately see what we owned.
When a bin starts overflowing, that is your sign to check for expired items, duplicates or things your family no longer uses. Try to put groceries away according to the labels instead of wherever they happen to fit. And before buying more organizers, ask whether you really need another container or simply need fewer items.
These same professional organizer tips can work beyond the pantry, too. Empty the space, sort honestly, choose storage that fits and label the categories. I used a very similar approach when I learned how to organize our kids’ playroom.
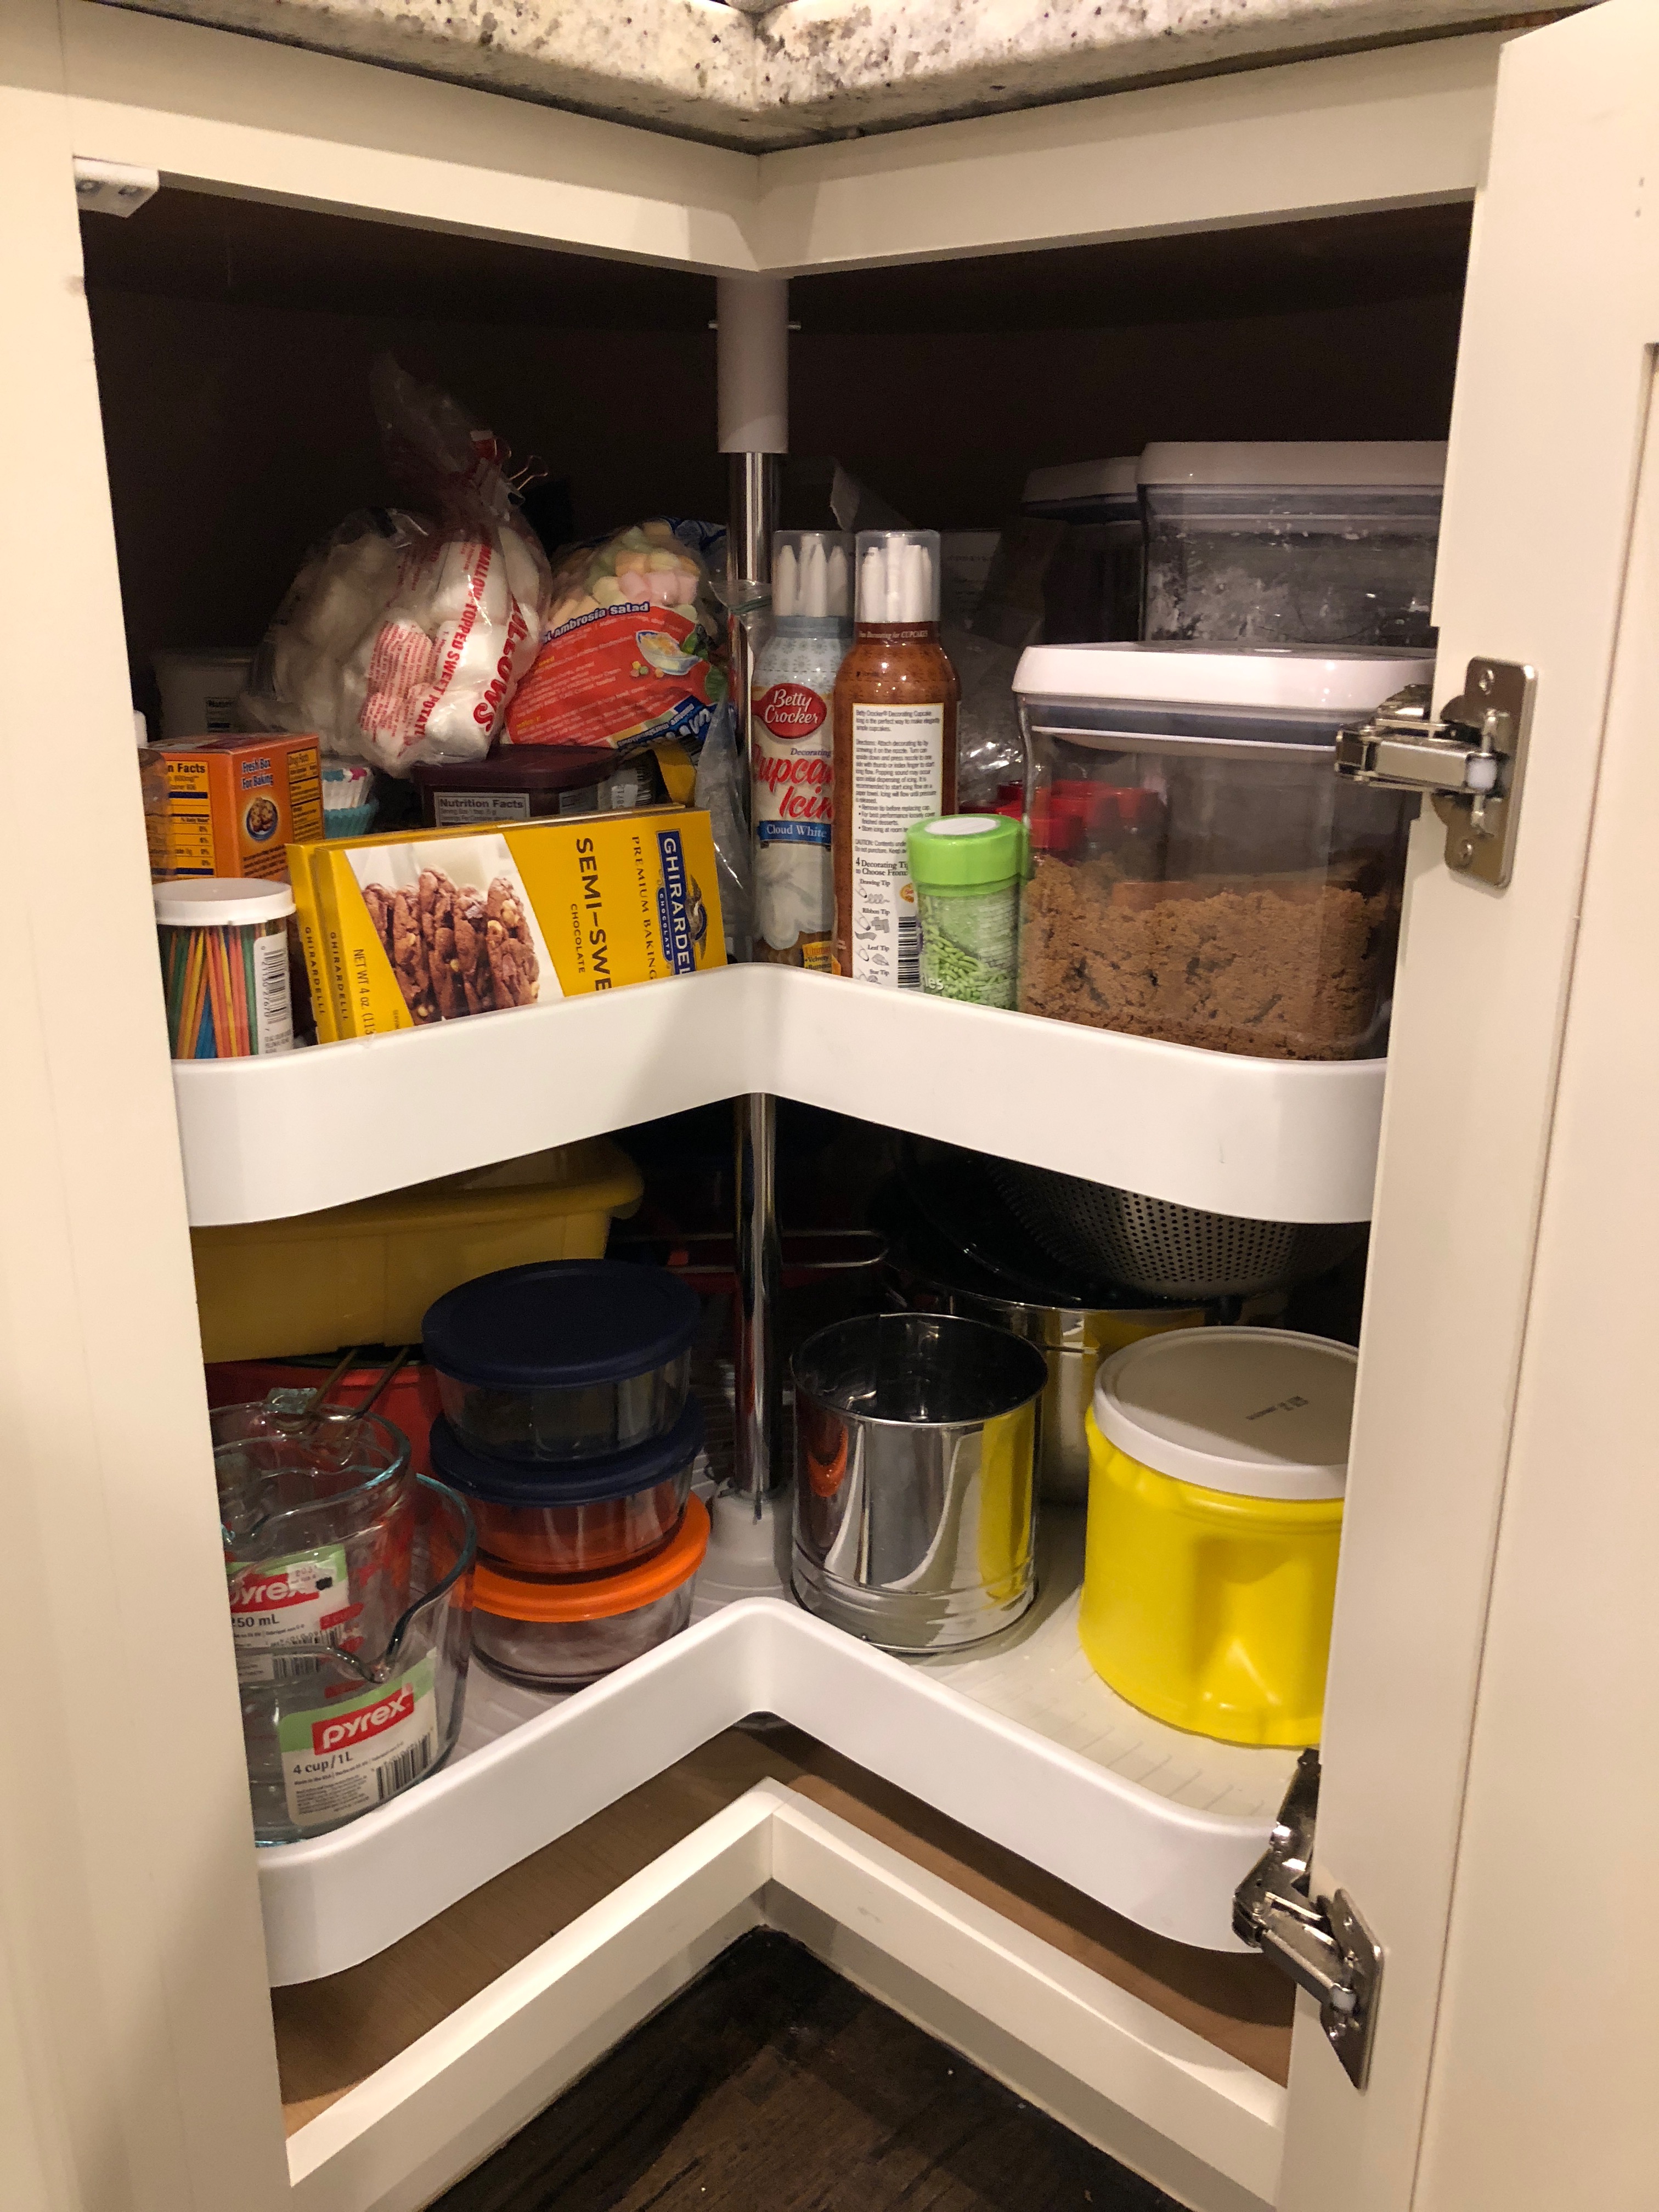
Was Hiring a Professional Organizer Worth It?
For me, YES. Jessica was easy to talk to, never judged the before and gave us functional ideas I would not have thought of on my own. She recommended products where they solved a specific problem, but the goal was never to sell me things I did not need. The goal was to make our kitchen work better for our family.
I was obsessed with how the pantry, cabinets and drawers looked, but even more than that, I appreciated how functional they became. I stopped rebuying items we already owned, everyone could find what they needed and putting things away became so much easier. GAME CHANGER.
If you are in the Chicagoland area and want help organizing one space or alllll the spaces, visit The Organized Mama to learn more about Jessica and her organizing resources.
Have you ever worked with a professional organizer? If not, which space in your home would you want someone to organize first? Tell me in the comments! Xox


Comments +